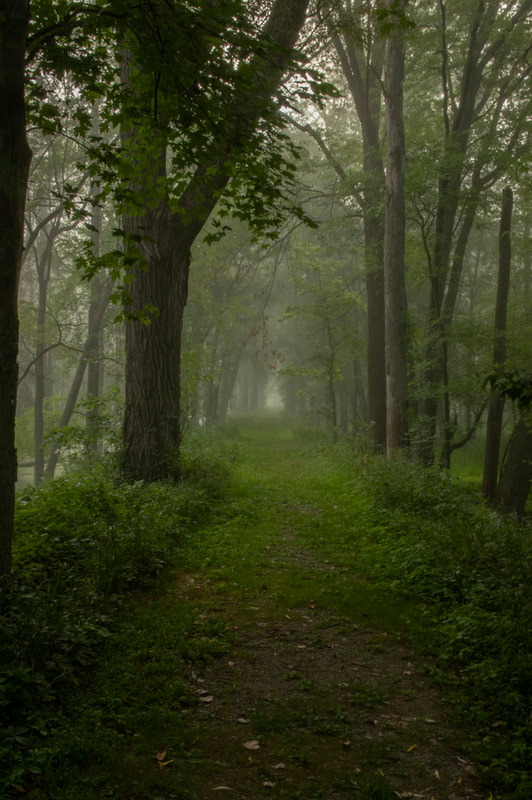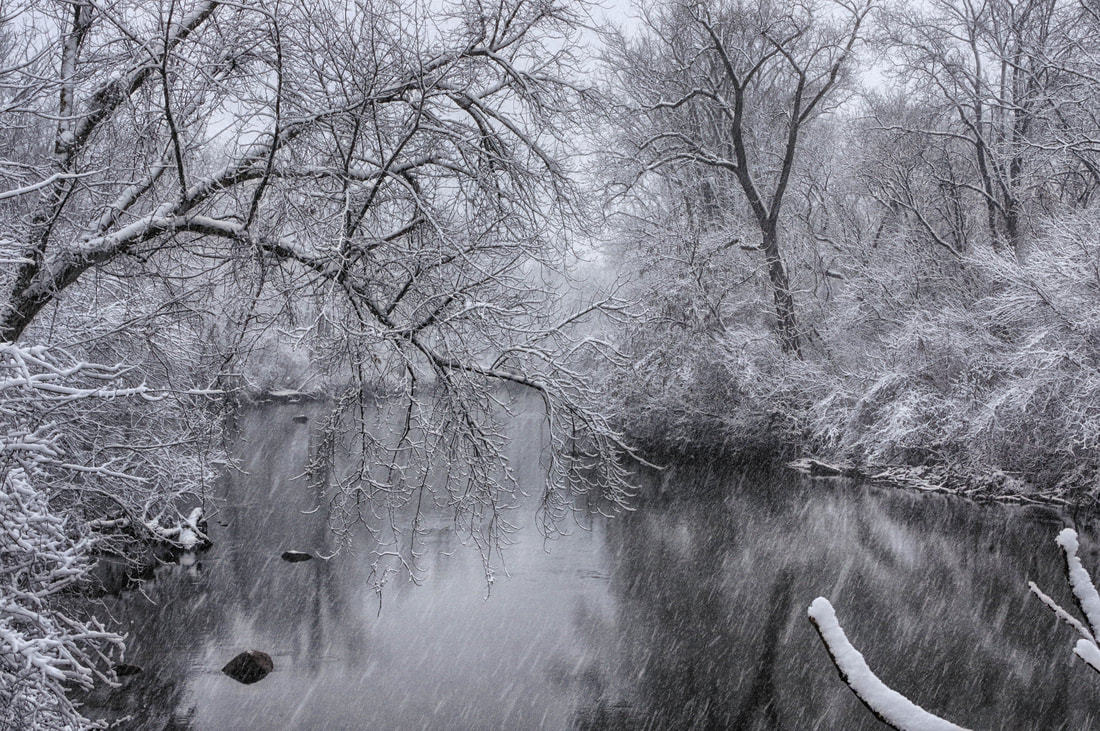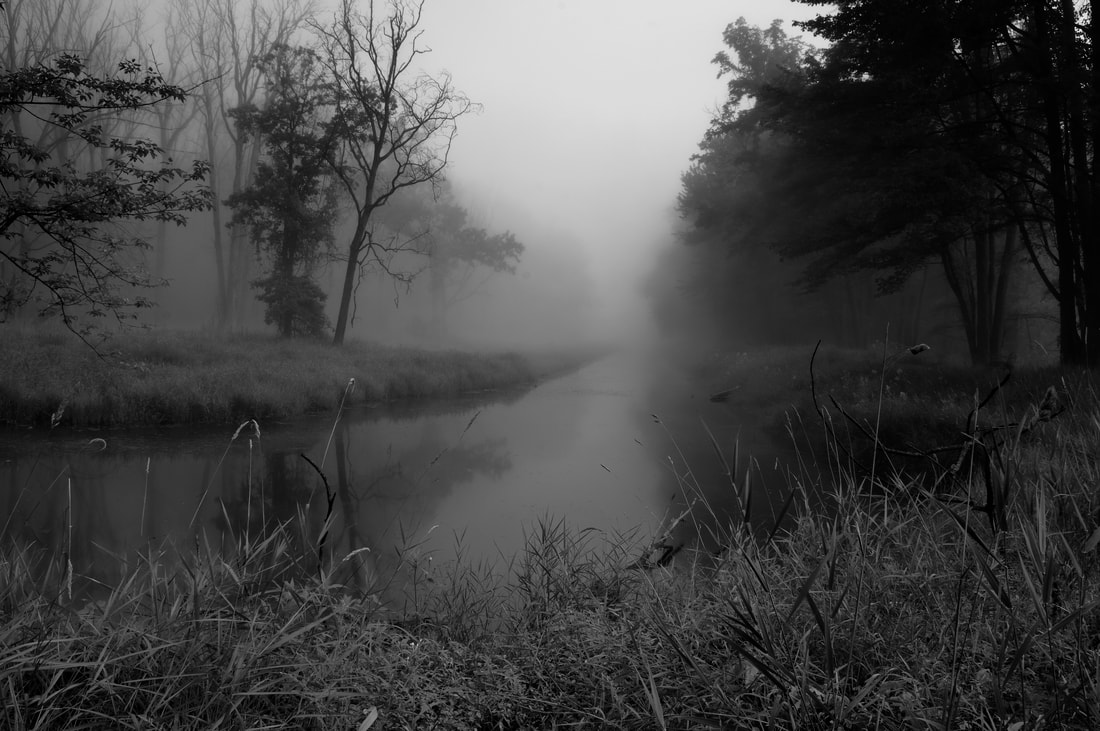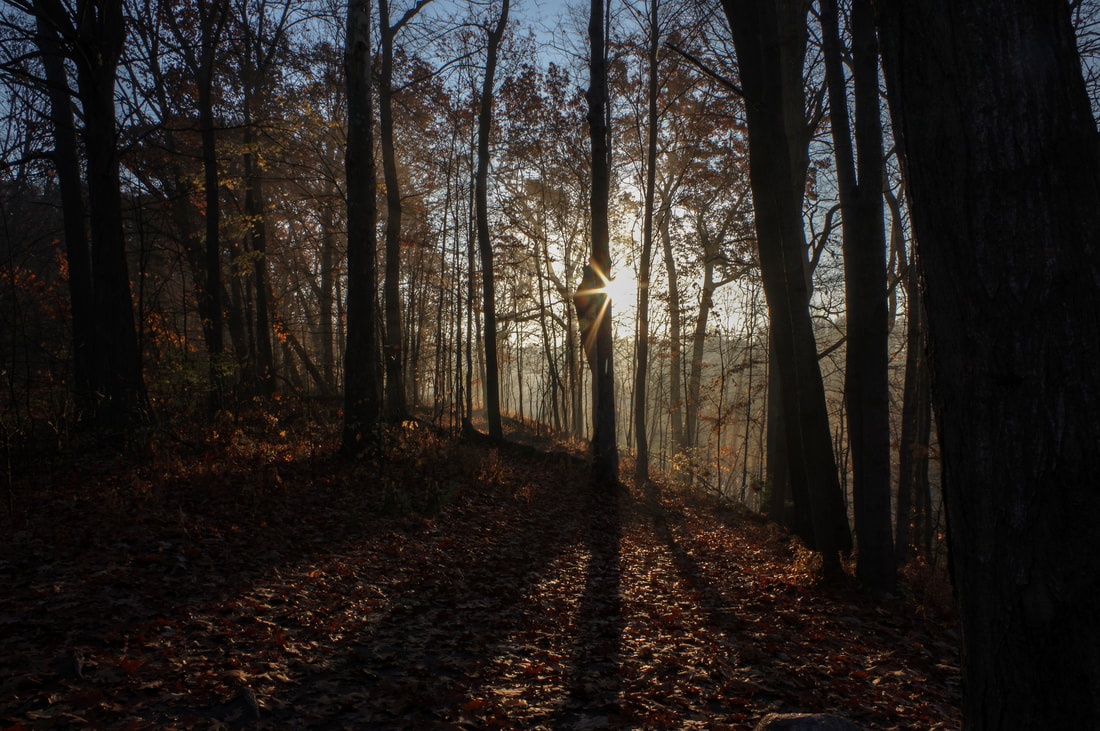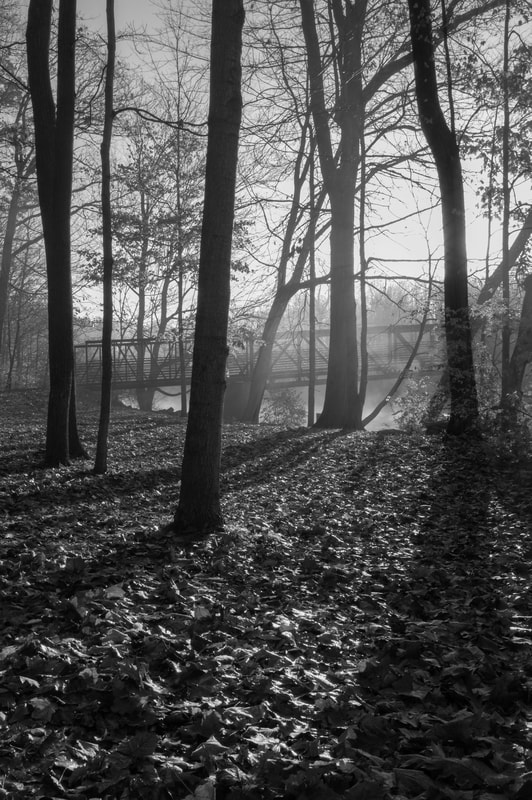
Weather Photography
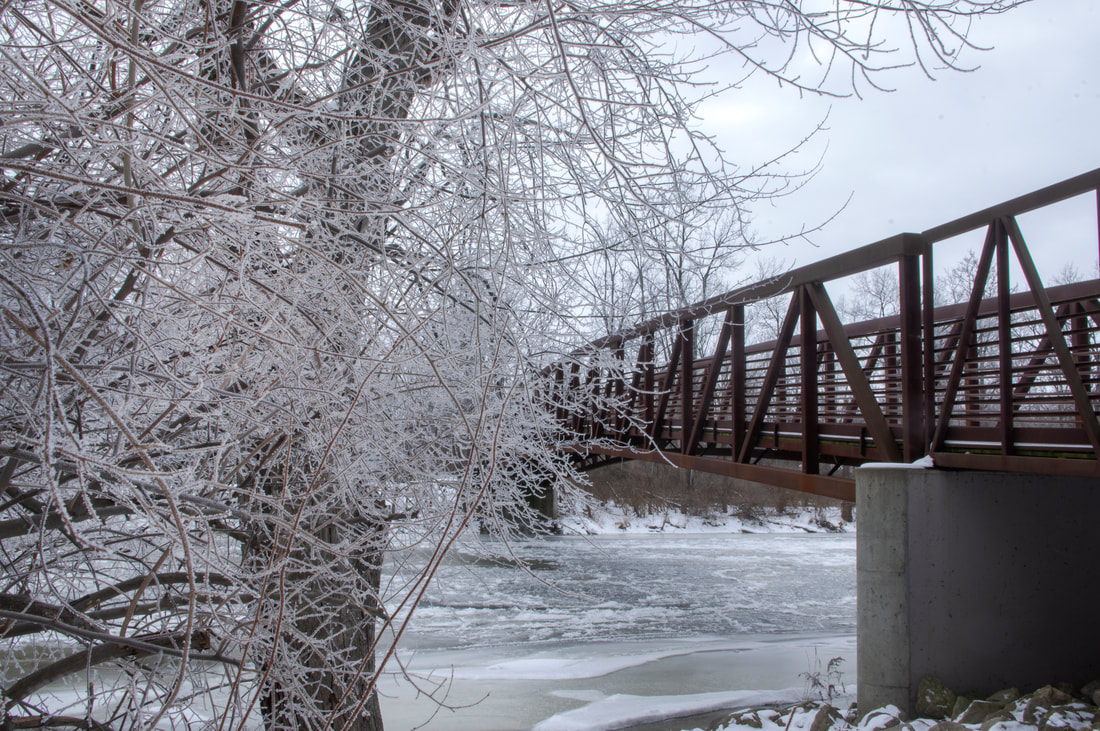
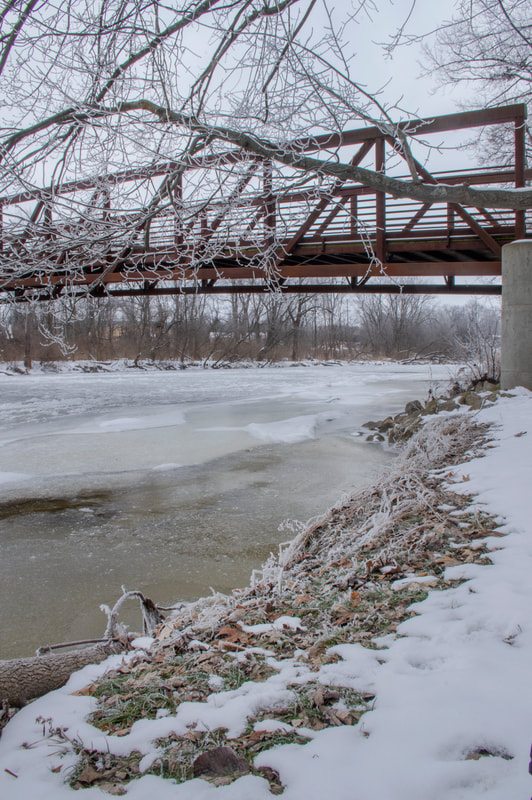
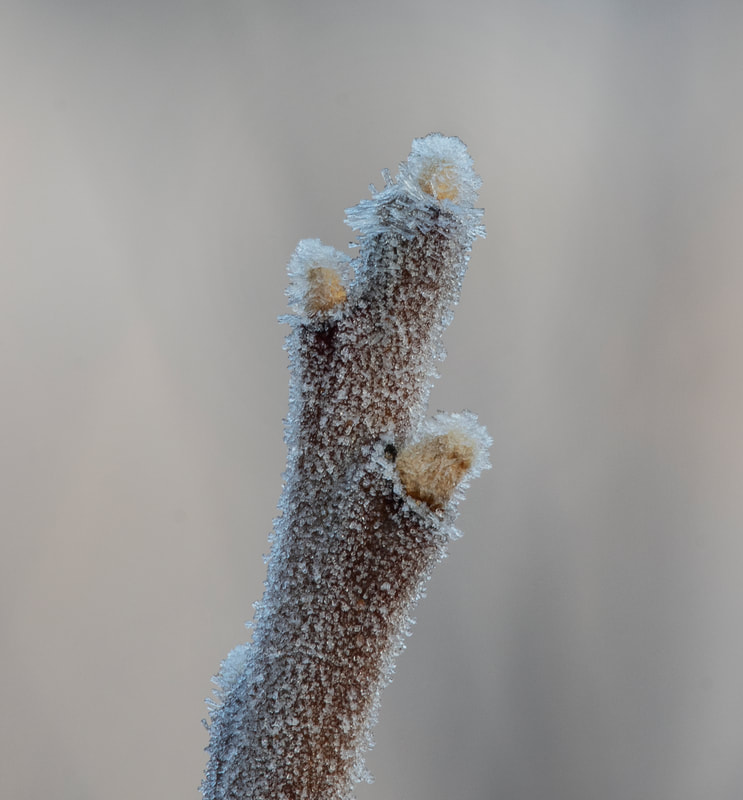
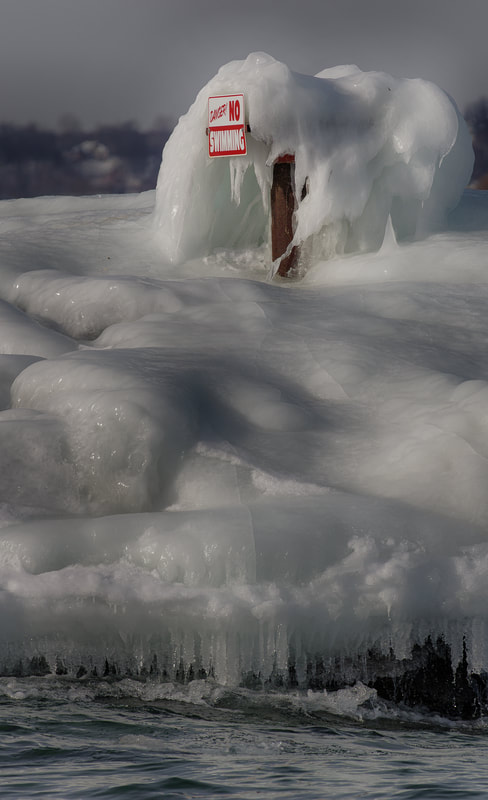
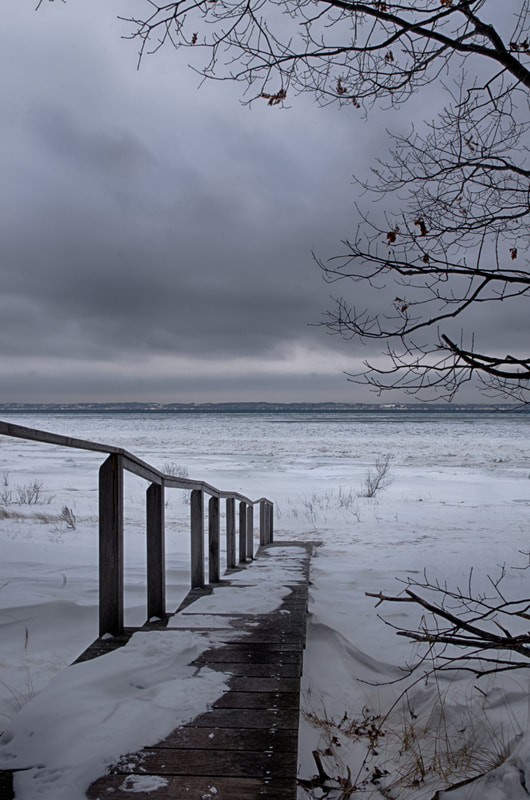
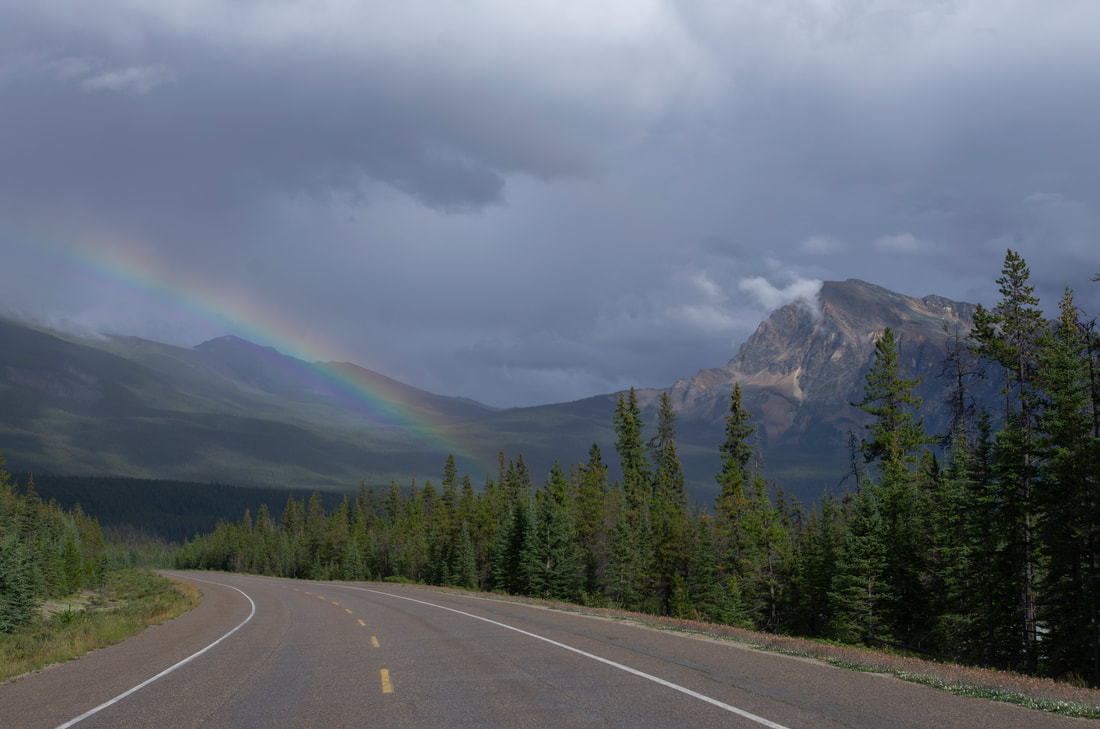
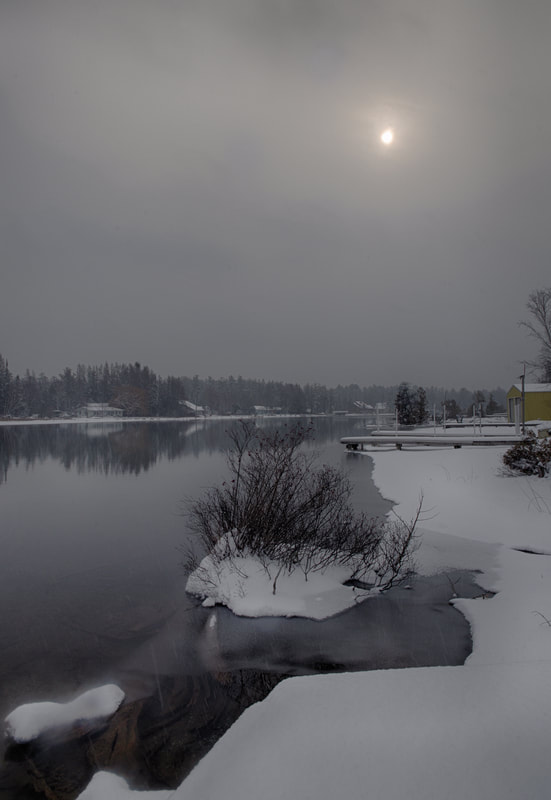
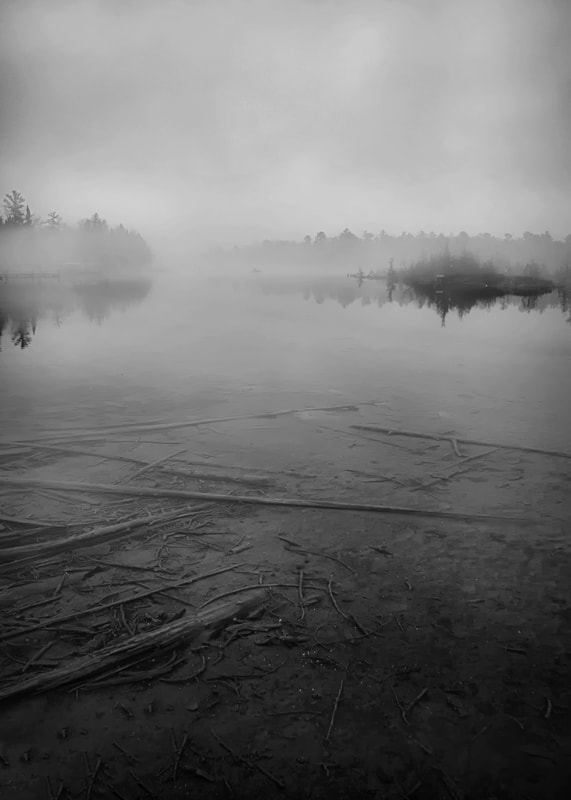
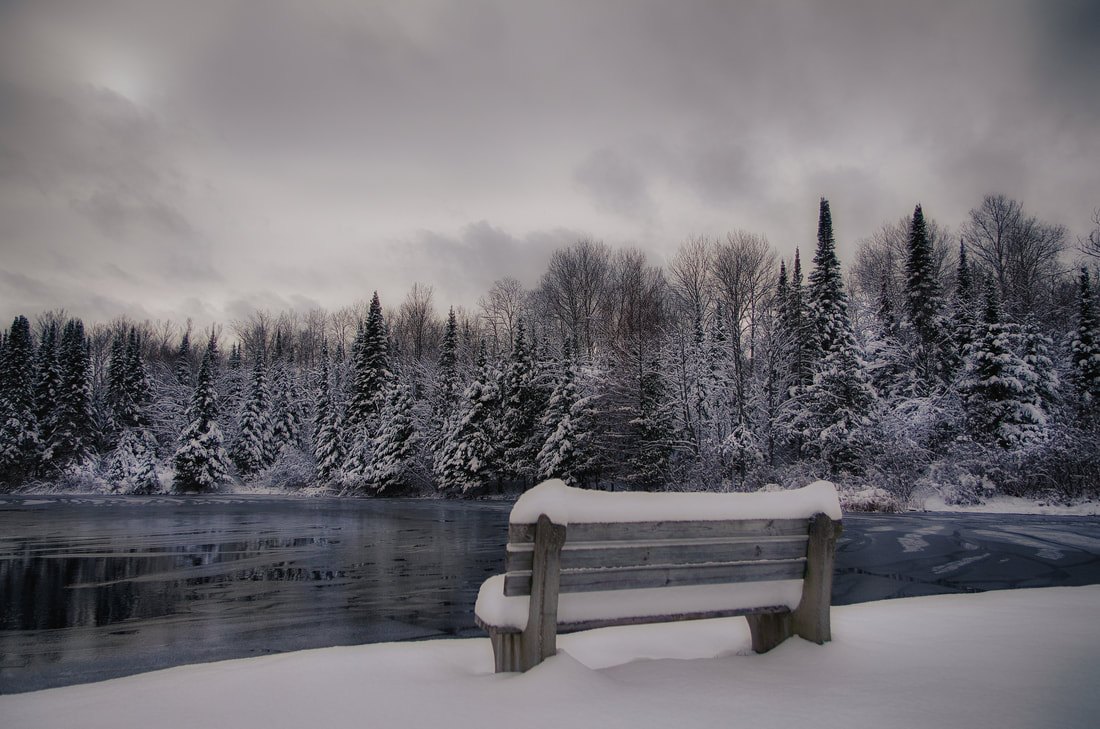
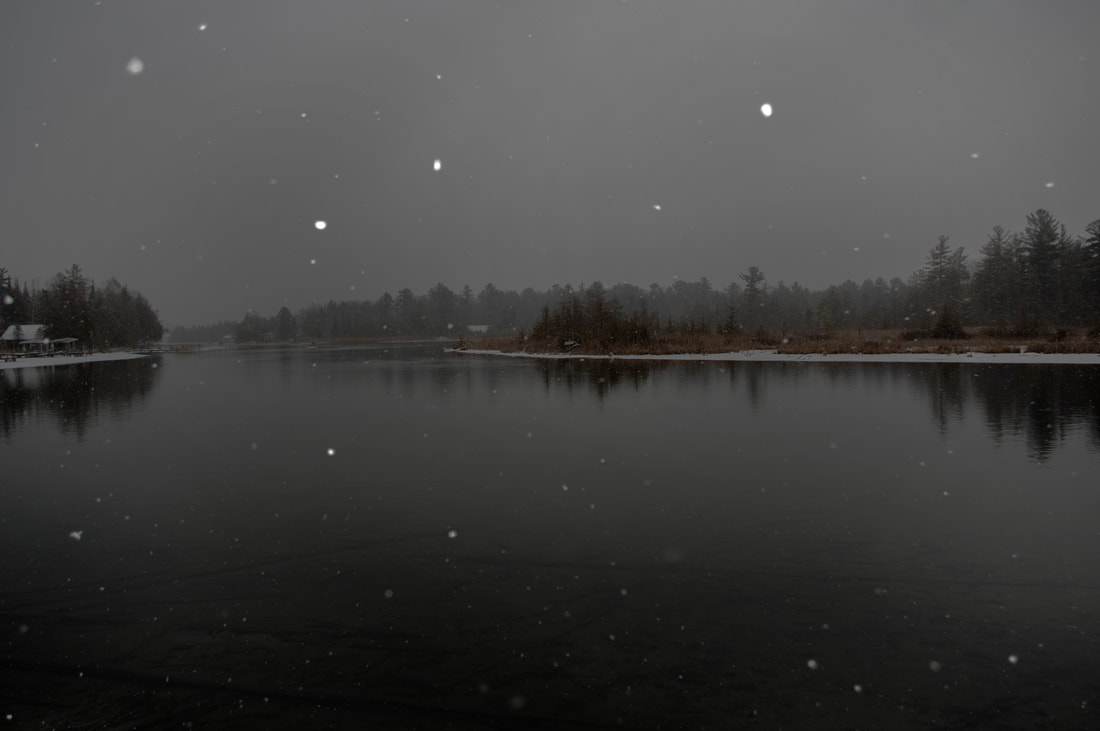
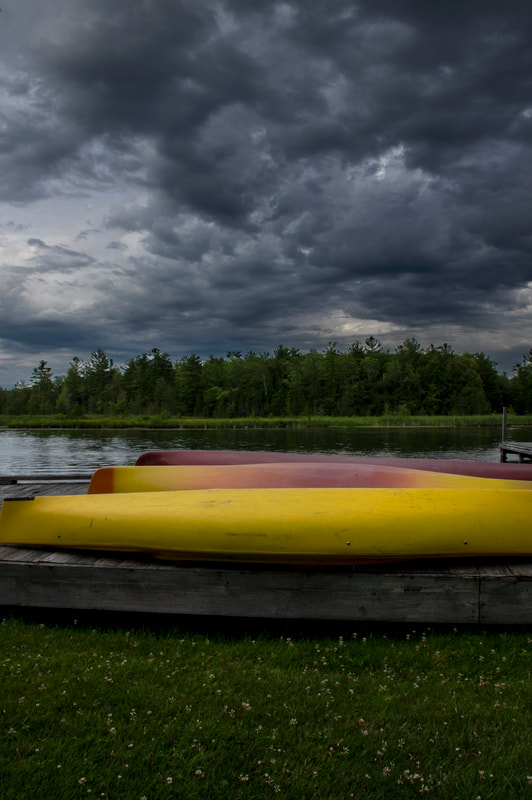
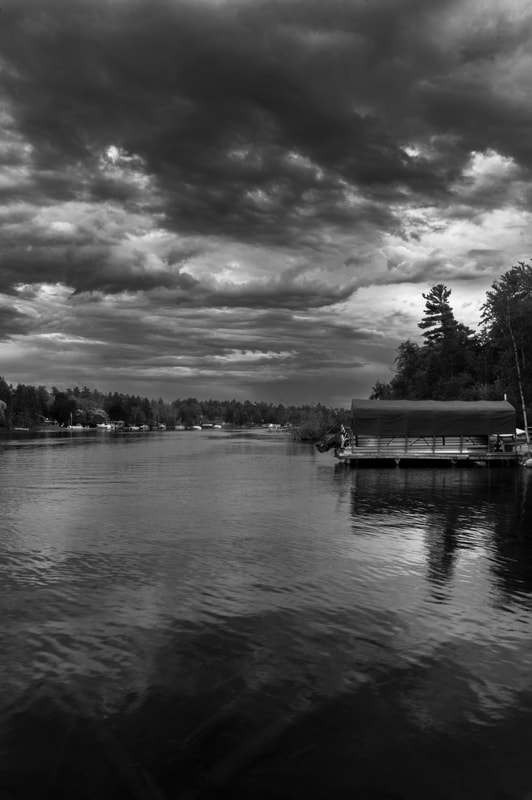
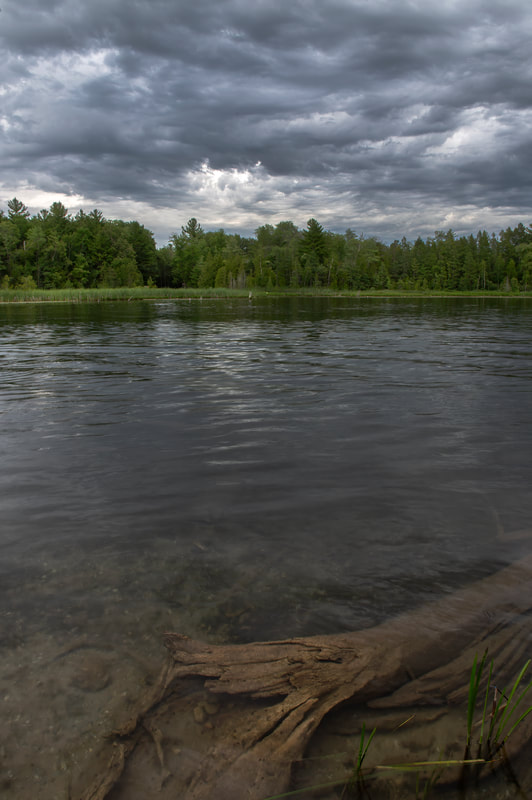
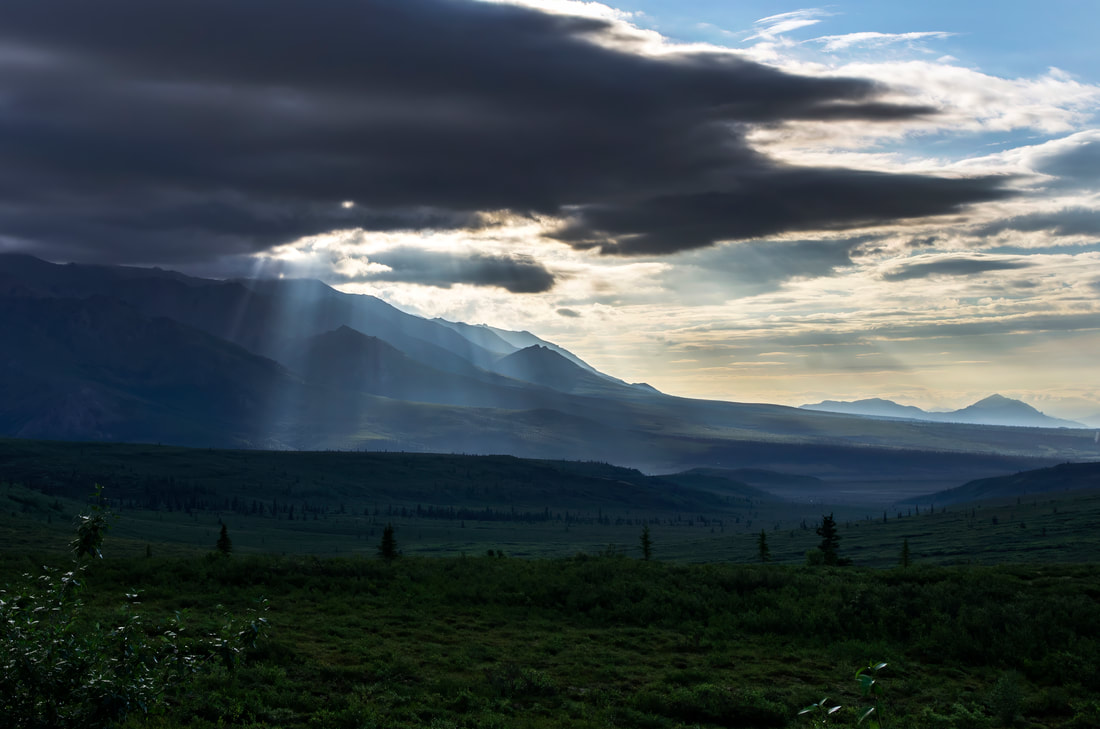
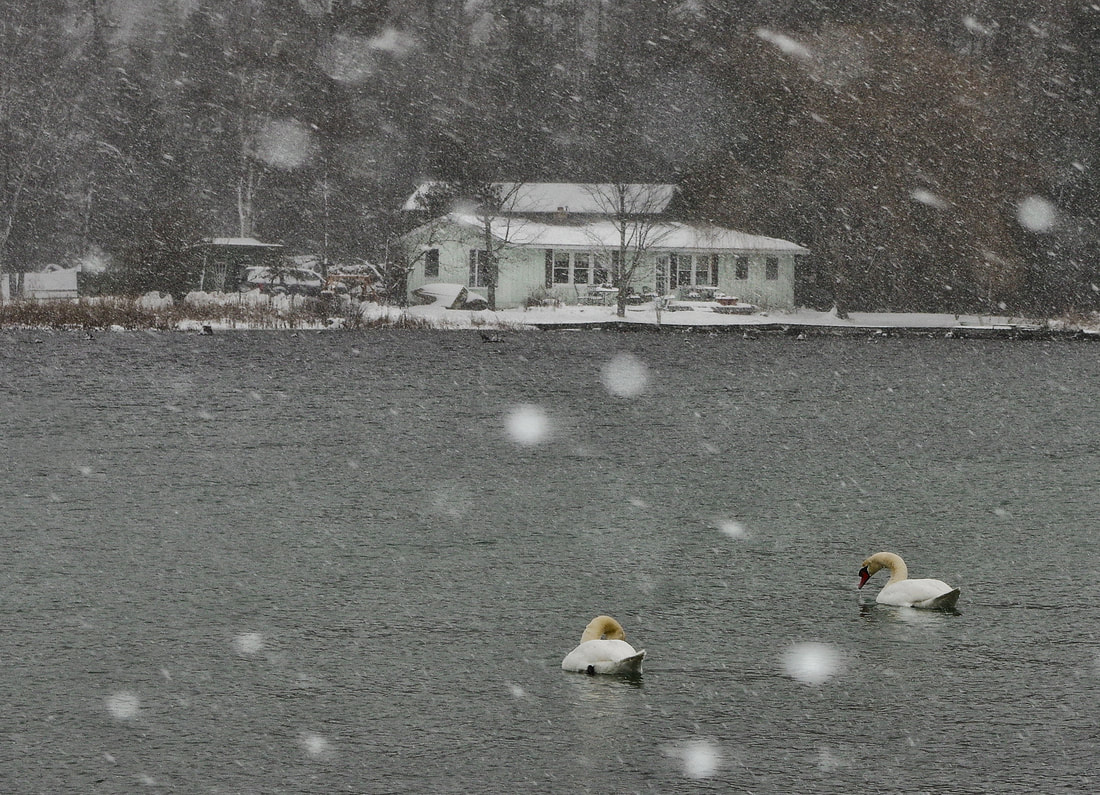
Weather photography is a specialized type of photography that focuses on capturing the beauty, drama, and various aspects of weather and atmospheric conditions. It involves photographing different weather phenomena such as rain, snow, lightning, storms, fog, clouds, sunsets, sunrises, and more. Weather photography can range from documenting calm and serene weather conditions to capturing the intensity and power of severe weather events.
Here are some tips for getting started with weather photography:
1) Research and Planning: Before heading out to capture weather-related shots, research the weather forecast and choose the conditions that align with the kind of shot you want. This might involve capturing a dramatic storm, a misty morning, or a colorful sunset.
For lightning shots look for locations that would give you a compelling composition. Often you may not have enough time at hand to commute to a distant location before a lightning storm starts. It would therefore be ideal to shortlist a few locations so that you have options in hand. Sometimes locations closer to home may be a better choice. Accessibility to the location should also be carefully considered. It would be a good idea to visit the short-listed locations to frame your shots, look for good angles etc. Such familiarization would help to set up your camera quickly on actual day you go shooting.
Follow the forecast for lightning and thunderstorms in your area. This goes a long way in helping you plan the shot. These days you can get accurate forecasts many days in advance. You could rely on local news, weather information reports or even apps. Several lightning tracker apps are today available that makes it easier.
2) Safety First: Safety is paramount, especially when dealing with extreme weather conditions. Always prioritize your safety and the safety of others around you. Avoid putting yourself in dangerous situations.
3) Equipment: While you can capture some impressive weather shots with a smartphone, having a DSLR or mirrorless camera with interchangeable lenses gives you more creative control. A wide-angle lens can be particularly useful for capturing expansive sky shots.
Gear List
4) Use of Filters: Depending on the weather and lighting conditions, using polarizing filters can help reduce glare and enhance contrast in the sky. Neutral density (ND) filters can be used to control the amount of light entering the camera, allowing for longer exposures.
5) Composition: Pay attention to composition techniques like the rule of thirds, leading lines, and framing to create visually appealing images. The sky often plays a central role in weather photography, so position it accordingly in your frame.
6) Lighting: The quality of light can greatly affect the mood of your weather shots. The golden hour (shortly after sunrise and before sunset) can provide soft and warm lighting, while stormy conditions can lead to dramatic lighting and contrasts.
7) Capturing Movement: Experiment with different shutter speeds to capture movement in weather elements like raindrops, snowflakes, or flowing clouds. Slower shutter speeds can create a sense of motion, while faster speeds can freeze action.
Once at the location, mount your camera on the tripod. If the lightning or thunderstorm is happening when there is good light, you may be able to get a handheld shot. However, it is recommended to use a tripod even in these conditions. Frame your shot. Next thing to do is to focus your camera. Focus your camera to a distant horizon or focus to infinity. If your lens has an infinity marking this could be used. Once focus is achieved, turn off the auto focus by switching the lens to manual mode. This will prevent camera attempting to refocus each time. You can recompose and frame your shot.
For lightning shots there is no standard go to settings for lightning photography. It would depend mostly on the time of your shooting, available ambient light etc. as with any kind of photography.
Photographing in Manual mode is recommended. The go to settings would be to turn the ISO to the lowest possible value. Use the sweet spot of your lens for aperture. This probably would be f/8-f11 for most of the lenses. The shutter speed could be anywhere between a couple of seconds to 30 seconds. However, if you are photographing on brighter conditions you may have to close down your aperture and/or use faster speeds. It would also be good to use the delay timer in your camera to prevent camera shakes.
One of easiest way is to click the shutter once you see the lightning bolt. Do not use the delay timer if you are following this method. However, this way has its own inherent drawbacks. The lightning would be gone by the time you press the shutter. Even if you manage to press it in time, the shutter lag may not let you get the capture. Camera shake may also come into picture. Locking your mirror up helps to reduce the camera shake. If bolts last for a few seconds or if there are multiple bolts happening, you may be lucky to get some of them during the time the camera is exposed. In case you miss the first bolt, you could still end up getting the subsequent bolts since longer exposures are used. This would not be an option if you are shooting in good light conditions where faster shutter speeds will be needed.
The next method is to expose the camera for a set period and hope that a lightning bolt hits during the exposure time. For example, you could set an exposure of 15 seconds (provided conditions permit) and wait for lightning bolts to happen during this period. You may have to take number of such shots to end up with some keepers. While employing this method it is good to use the delay timer on your camera to avoid the camera shake.
8) Editing: Post-processing can enhance the impact of your weather photos. Adjustments to contrast, saturation, and exposure can help bring out the details and mood of the scene. Software like Adobe Lightroom or Photoshop can be useful for editing.
9) Patience and Persistence: Weather conditions can change rapidly, so be patient and willing to wait for the right moment. Sometimes, the most spectacular shots come to those who are willing to invest the time.
10) Tell a Story: Think about the story you want your photos to convey. Whether it's the serenity of a misty morning or the intensity of a thunderstorm, let your photos tell a compelling narrative. Remember that weather photography requires a mix of technical skills, creativity, and an understanding of weather patterns. Be prepared to experiment, adapt, and learn from your experiences to capture stunning and memorable weather-related images.
Here are some tips for getting started with weather photography:
1) Research and Planning: Before heading out to capture weather-related shots, research the weather forecast and choose the conditions that align with the kind of shot you want. This might involve capturing a dramatic storm, a misty morning, or a colorful sunset.
For lightning shots look for locations that would give you a compelling composition. Often you may not have enough time at hand to commute to a distant location before a lightning storm starts. It would therefore be ideal to shortlist a few locations so that you have options in hand. Sometimes locations closer to home may be a better choice. Accessibility to the location should also be carefully considered. It would be a good idea to visit the short-listed locations to frame your shots, look for good angles etc. Such familiarization would help to set up your camera quickly on actual day you go shooting.
Follow the forecast for lightning and thunderstorms in your area. This goes a long way in helping you plan the shot. These days you can get accurate forecasts many days in advance. You could rely on local news, weather information reports or even apps. Several lightning tracker apps are today available that makes it easier.
2) Safety First: Safety is paramount, especially when dealing with extreme weather conditions. Always prioritize your safety and the safety of others around you. Avoid putting yourself in dangerous situations.
3) Equipment: While you can capture some impressive weather shots with a smartphone, having a DSLR or mirrorless camera with interchangeable lenses gives you more creative control. A wide-angle lens can be particularly useful for capturing expansive sky shots.
Gear List
- A DSLR or Mirrorless camera capable of shooting in “Manual” / “Bulb” mode
- A Sturdy tripod
- Lens: Any lens could be used. Wide angle lens is an excellent choice as this can help to capture a wider scene maximizing the chances of capturing a bolt. Zoom lenses can be helpful if lightning is occurring at a distance or if you are aiming to capture lightning striking a tall building or tree.
- Fully charged battery. A fully charged second battery as spare is recommended.
- Remote Trigger
- Intervalometer
- ND Filter
4) Use of Filters: Depending on the weather and lighting conditions, using polarizing filters can help reduce glare and enhance contrast in the sky. Neutral density (ND) filters can be used to control the amount of light entering the camera, allowing for longer exposures.
5) Composition: Pay attention to composition techniques like the rule of thirds, leading lines, and framing to create visually appealing images. The sky often plays a central role in weather photography, so position it accordingly in your frame.
6) Lighting: The quality of light can greatly affect the mood of your weather shots. The golden hour (shortly after sunrise and before sunset) can provide soft and warm lighting, while stormy conditions can lead to dramatic lighting and contrasts.
7) Capturing Movement: Experiment with different shutter speeds to capture movement in weather elements like raindrops, snowflakes, or flowing clouds. Slower shutter speeds can create a sense of motion, while faster speeds can freeze action.
Once at the location, mount your camera on the tripod. If the lightning or thunderstorm is happening when there is good light, you may be able to get a handheld shot. However, it is recommended to use a tripod even in these conditions. Frame your shot. Next thing to do is to focus your camera. Focus your camera to a distant horizon or focus to infinity. If your lens has an infinity marking this could be used. Once focus is achieved, turn off the auto focus by switching the lens to manual mode. This will prevent camera attempting to refocus each time. You can recompose and frame your shot.
For lightning shots there is no standard go to settings for lightning photography. It would depend mostly on the time of your shooting, available ambient light etc. as with any kind of photography.
Photographing in Manual mode is recommended. The go to settings would be to turn the ISO to the lowest possible value. Use the sweet spot of your lens for aperture. This probably would be f/8-f11 for most of the lenses. The shutter speed could be anywhere between a couple of seconds to 30 seconds. However, if you are photographing on brighter conditions you may have to close down your aperture and/or use faster speeds. It would also be good to use the delay timer in your camera to prevent camera shakes.
One of easiest way is to click the shutter once you see the lightning bolt. Do not use the delay timer if you are following this method. However, this way has its own inherent drawbacks. The lightning would be gone by the time you press the shutter. Even if you manage to press it in time, the shutter lag may not let you get the capture. Camera shake may also come into picture. Locking your mirror up helps to reduce the camera shake. If bolts last for a few seconds or if there are multiple bolts happening, you may be lucky to get some of them during the time the camera is exposed. In case you miss the first bolt, you could still end up getting the subsequent bolts since longer exposures are used. This would not be an option if you are shooting in good light conditions where faster shutter speeds will be needed.
The next method is to expose the camera for a set period and hope that a lightning bolt hits during the exposure time. For example, you could set an exposure of 15 seconds (provided conditions permit) and wait for lightning bolts to happen during this period. You may have to take number of such shots to end up with some keepers. While employing this method it is good to use the delay timer on your camera to avoid the camera shake.
8) Editing: Post-processing can enhance the impact of your weather photos. Adjustments to contrast, saturation, and exposure can help bring out the details and mood of the scene. Software like Adobe Lightroom or Photoshop can be useful for editing.
9) Patience and Persistence: Weather conditions can change rapidly, so be patient and willing to wait for the right moment. Sometimes, the most spectacular shots come to those who are willing to invest the time.
10) Tell a Story: Think about the story you want your photos to convey. Whether it's the serenity of a misty morning or the intensity of a thunderstorm, let your photos tell a compelling narrative. Remember that weather photography requires a mix of technical skills, creativity, and an understanding of weather patterns. Be prepared to experiment, adapt, and learn from your experiences to capture stunning and memorable weather-related images.