Fall Photography Tips
One of the seasons that people look forward to is autumn. In many parts of the world the fall colors are also highly anticipated by photographers. Here are a few tips that will help make your fall pictures stand out a just little bit more.
1) Research your location
Whether in your backyard or a local park or even a road trip to capture fall colors, research where you are going before you head out. Foliage timing is always important. Different types of trees change colors and loose their leaves at different times in the fall. Also elevation and location play a part of their change. Areas of higher elevation will change sooner than those at a lower elevation. Foliage near water usually will change later than trees away from lakes or streams. Not all trees change into the same color. An area with a lot of Birch Trees will be yellow, where as an area with Maple Trees will be Orange and Red in color.
Whether in your backyard or a local park or even a road trip to capture fall colors, research where you are going before you head out. Foliage timing is always important. Different types of trees change colors and loose their leaves at different times in the fall. Also elevation and location play a part of their change. Areas of higher elevation will change sooner than those at a lower elevation. Foliage near water usually will change later than trees away from lakes or streams. Not all trees change into the same color. An area with a lot of Birch Trees will be yellow, where as an area with Maple Trees will be Orange and Red in color.

2) Lighting
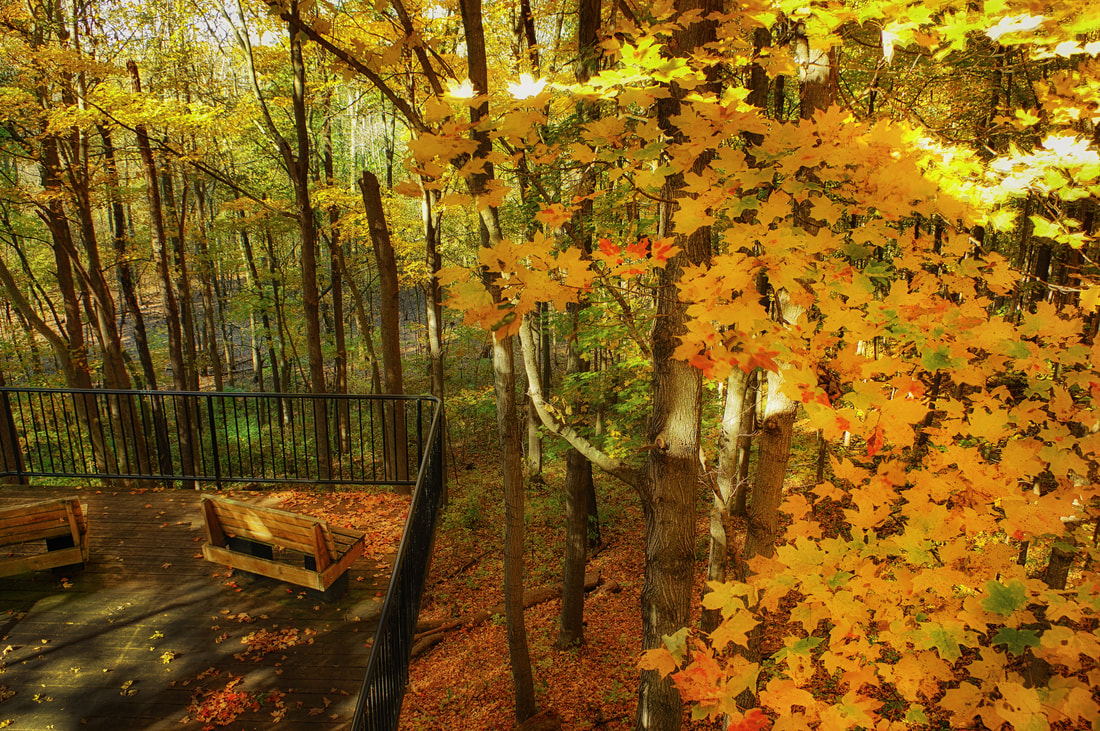
The time and type of day can add much to your picture. Sunrise and sunset offer the magic "Golden Hour." This first hour after sunrise and the last hour before sunset bring a warm, natural light to your pictures and this will heighten the colors of the leaves. Also, overcast and rainy days can bring out earthtones and the rich depth of colors of the fall trees. Rain on the leaves can bring out nice patterns of light and color. It can be difficult to expose for a blue sky while also correctly exposing for the fall colors without washing one or the other out. You should watch your histogram to help adjust for a better exposure of your picture. You could also use an HDR setting or bracket several images to merge together later in post processing.
The time and type of day can add much to your picture. Sunrise and sunset offer the magic "Golden Hour." This first hour after sunrise and the last hour before sunset bring a warm, natural light to your pictures and this will heighten the colors of the leaves. Also, overcast and rainy days can bring out earthtones and the rich depth of colors of the fall trees. Rain on the leaves can bring out nice patterns of light and color. It can be difficult to expose for a blue sky while also correctly exposing for the fall colors without washing one or the other out. You should watch your histogram to help adjust for a better exposure of your picture. You could also use an HDR setting or bracket several images to merge together later in post processing.
|
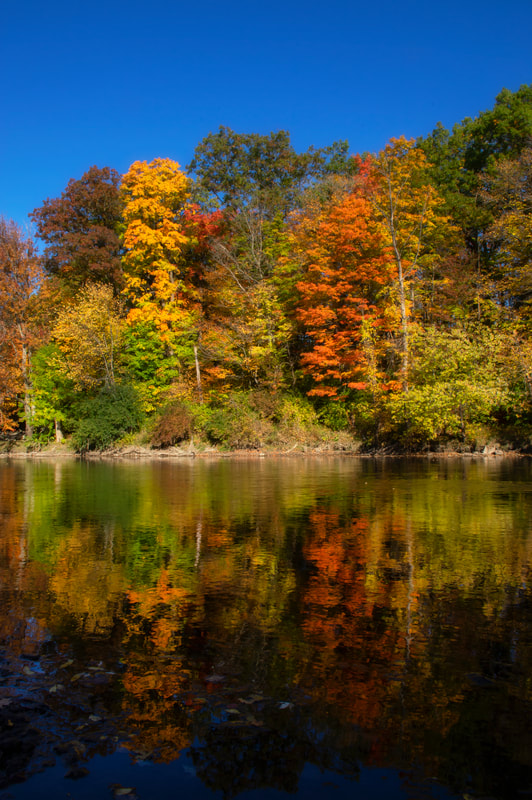
3) Polarizing Filter
A Polarizing Filter is an important item to have with you. It not only removes the reflection and glare of the water and heightens the blue of the sky, but it brings out the color of the leaves. It will also remove some haze and mist from your picture giving you a better representation of the true colors. |
|
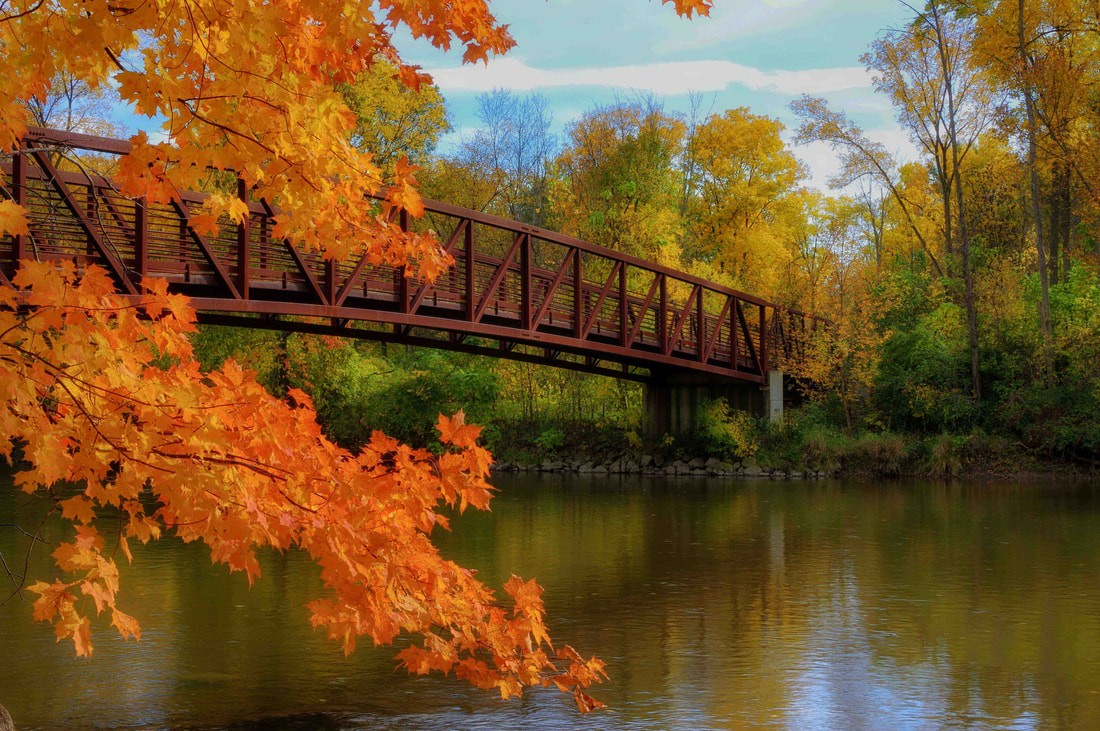
4) Look Both Near And Far
Don't just capture the whole scene in one shot. Take the time to look closer. Look for individual trees or even a single leaf. Or look for an object that will stand out in all the color, like a lone pine tree or a road winding its way through the trees. This will add an interesting aspect to your picture.
Don't just capture the whole scene in one shot. Take the time to look closer. Look for individual trees or even a single leaf. Or look for an object that will stand out in all the color, like a lone pine tree or a road winding its way through the trees. This will add an interesting aspect to your picture.
|
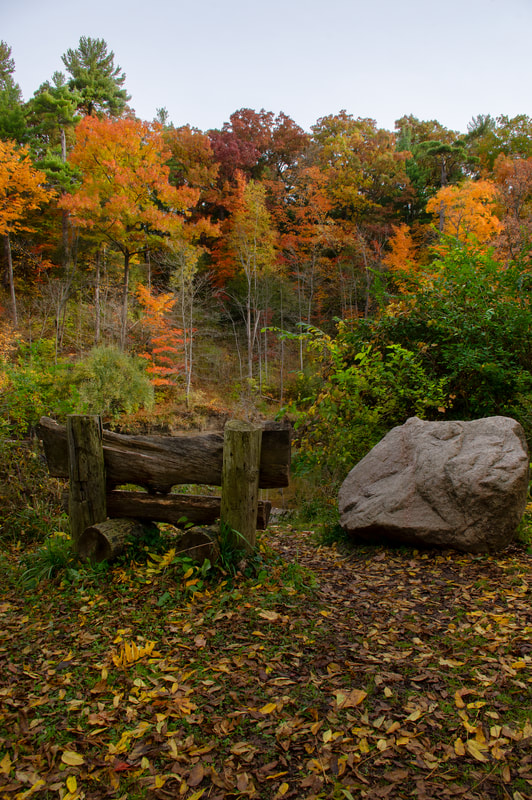
5) Include A Subject
Don't make the colors the main subject of the picture. Including a person or a building or even a bench in the picture to add an interest while using the color as a backdrop will give your picture a nice balance. If you are shooting a landscape image try using the same composition you would for any other landscape picture. |
6) Control The Focus
If you have a central subject in your picture like people or pets, try using a lower f-stop to blur the background some. With a Point and Shoot camera use portrait mode to create this look. If you want more of the background in focus, use a higher f-stop setting. But remember this will cause a longer shutter speed that could lead to blurring if the camera is not held steady. With a compact camera use landscape mode.
If you have a central subject in your picture like people or pets, try using a lower f-stop to blur the background some. With a Point and Shoot camera use portrait mode to create this look. If you want more of the background in focus, use a higher f-stop setting. But remember this will cause a longer shutter speed that could lead to blurring if the camera is not held steady. With a compact camera use landscape mode.
7) Filler Flash
If you are photographing people or pets against a bright background, you may want to try using your flash to bring out their features. You can also place them at the edge of the trees so more natural light is on them to help light their faces.
If you are photographing people or pets against a bright background, you may want to try using your flash to bring out their features. You can also place them at the edge of the trees so more natural light is on them to help light their faces.