Snow Photography Tips
Taking pictures of snow can be a fun and rewarding experience, as snow-covered landscapes often create a serene and magical atmosphere.
Here are some tips to help you capture beautiful snow scenes:
1) Use the Right Settings
Set your camera to a lower ISO to reduce noise in your photos. Start with ISO 100 or 200. Use a small aperture (higher f-stop) for a greater depth of field. This helps keep both the foreground and background in focus. Experiment with different shutter speeds. A faster shutter speed can freeze falling snowflakes, while a slower speed can capture their motion.
Set camera to shoot in RAW – getting everything right in camera at the best of times is not always possible; add snowfall into the mix and things can get tricky! So, ensure you shoot in raw to allow you the greatest options to adjust WB, levels and exposure when editing your images.
Use aperture priority – we recommend starting with aperture priority mode. This way, you have fewer things to adjust – less time with your fingers exposed to the cold, while still being in control of your depth of field.
Use exposure compensation – as you are in aperture priority mode, you have less control of the exposure. So, use exposure compensation for when you need to overexpose or underexpose – crucial for snow photography, as we’ll look at more below.
2) White Balance
Snow can sometimes appear blue in photos. Adjust your white balance to a cooler setting to counteract this. The "cloudy" or "shade" settings are good choices.
3) Composition
Look for interesting compositions. Fresh snow can make ordinary scenes look extraordinary. Use leading lines, such as footprints or paths in the snow, to draw attention to your subject. These times of day are good for photography in general but are particularly good for shooting snowy scenes. This is because snow is very reflective and tends to amplify and reflect light well. So, a warm sunset or cool pre-dawn tones can look really wonderful as part of a snowy scene.
4) Contrast
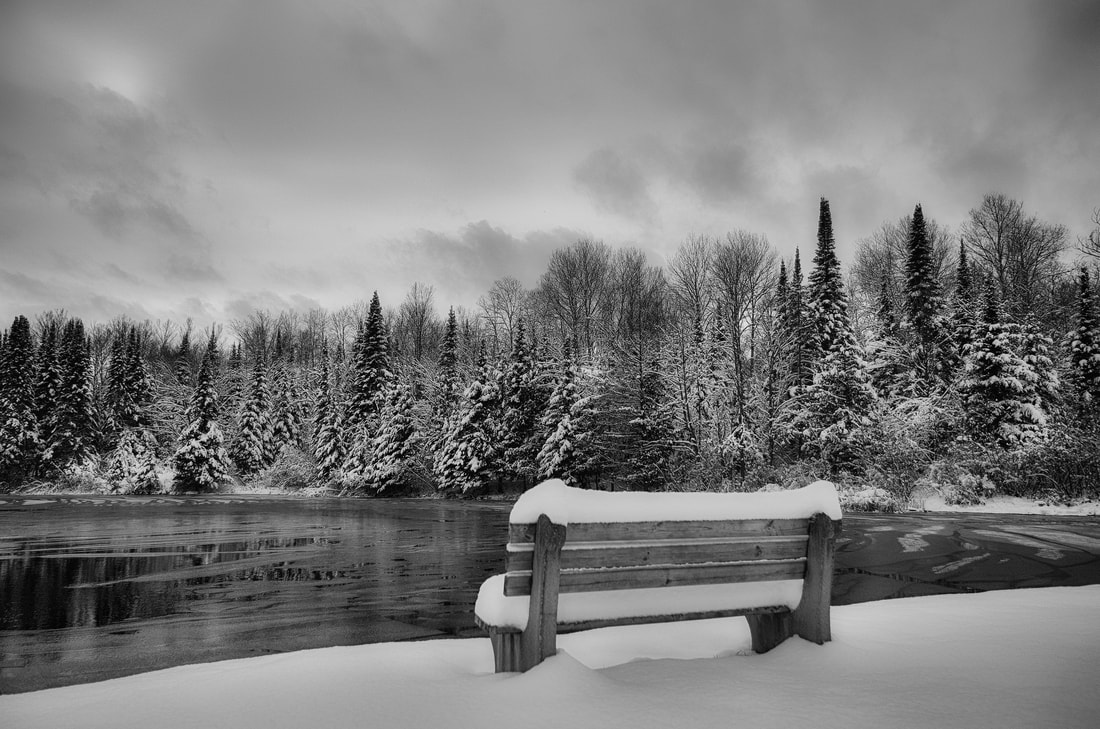
Use contrast to your advantage. Darker objects against the snow can create striking compositions. In a completely white snowy world, you might have to look quite hard to find something to contrast with the snow. Contrast makes a big difference, though, so keep your eyes and mind open.To add color contrast, look for something colorful or wait for sunset (when the blue of the shadows and the warm colors of the sun mingle). To add tonal contrast, simply look for the whites of the snow mixed with dark elements, such as shadows.
If you find moving water, contrasting the stillness of the snow with the rushing water can add a lot to your image!
5) Framing
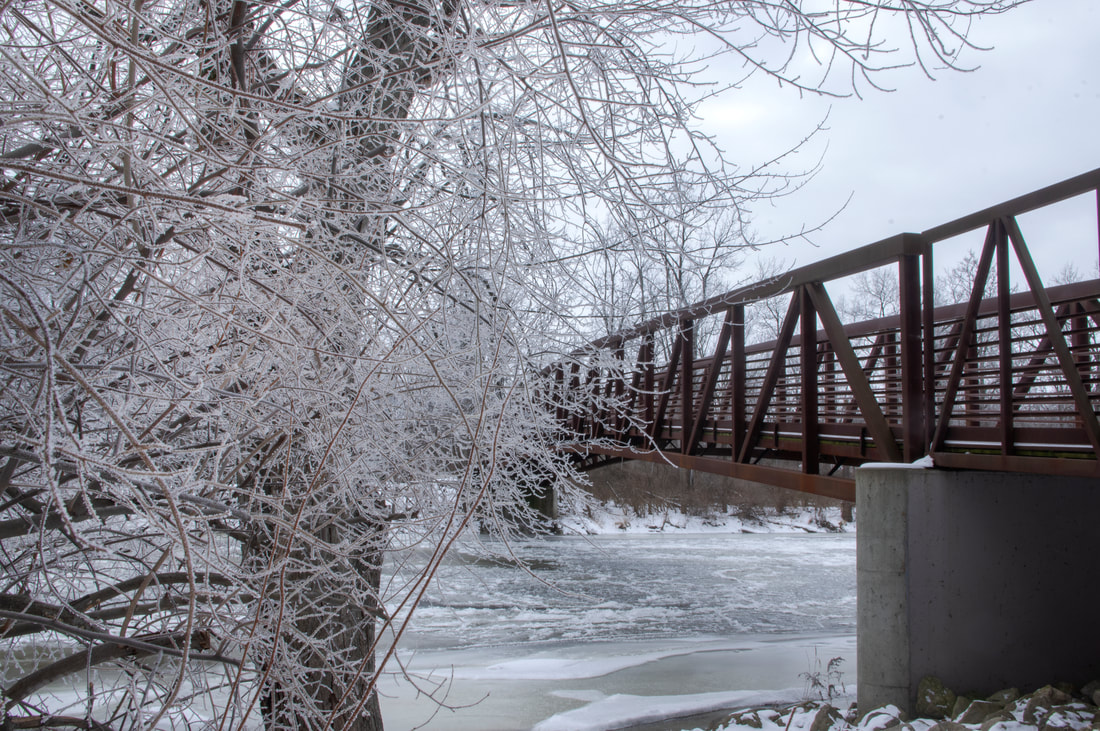
Look for natural frames in your environment, such as overhanging branches or doorways, to add depth and interest to your photos.
6) Morning and Evening Light
Take advantage of the golden hour (shortly after sunrise or before sunset) for warm and soft light that enhances the beauty of the snow.
7) Protect Your Gear
Snow can be wet, so use a camera rain cover or even a plastic bag to protect your camera from moisture.
Bring lens wipes or a microfiber cloth to keep your lens dry and clean.
Camera – use a weather-sealed camera, if possible. Also, it’s worth bringing a backup camera too, if you can.
Lens choice – you need to avoid getting moisture into your camera and lenses. So, it’s not recommended to be changing lenses a lot (with condensation being an issue). With this in mind, use a zoom this way, you’re not limited to one focal length as you would be with a prime. Again, weather-sealed lenses are best if you have them.
Camera and lens cover – use a rain cover with a drawstring that will cover not only your camera but your lens too. If you don’t have one, you could make one with a rubber band and a plastic bag! But that’s not as effective, and you can buy a decent rain cover fairly inexpensively. They are useful for shooting in all adverse weather conditions.
Cleaning cloths – your lenses may fog up regularly, so make sure you have plenty of microfibre cloths.
Camera bag – many camera bags these days come with a protective rain cover that you can fasten on when needed; this is ideal for keeping things as dry as possible.
8) Experiment with Exposure Compensation
Snow scenes can fool your camera's metering system, leading to underexposed images. Use exposure compensation to adjust the exposure as needed. So, to really render that startling bright white look of snow, try overexposing, by 0.7 or +1. Over exposing is a simple tip that can lead to beautifully white, natural-looking winter photos.
9) Focus
Snowflakes can confuse autofocus systems. Consider using manual focus and focus on a high-contrast object in the scene.
10) Capture Details
Zoom in to capture close-ups of individual snowflakes or interesting patterns in the snow.
Remember to dress warmly and be mindful of your equipment in cold conditions. Experiment with these tips and don't be afraid to try new angles and compositions to create unique and captivating snow photos.


