A more in-depth look at Focus Stacking
I trust everyone is having a good summer. I was able to spend a few weeks visiting with my daughter and now that she has returned to her Alaskan home, I am getting back to planning our group gatherings. It was suggested we take a closer look at Focus Stacking. I'll start by revisiting what I had posted before and then go into things a little deeper.
Focus Stacking
This technique is a way to further control your depth of field. By doing this you control how much of your image is in focus. It is often used in macro photography like insects and flowers. Getting close up to your subject creates a small depth of field and this technique allows you extend your depth of field.
It is also good for landscape photography where you want the object in the foreground as clear and sharp as an object in the background. This can be important because though your image may look sharp all the way through if you enlarge it, you notice it is sharpest at where you focus on. You lose sharpness in-front of and behind that spot.
Focus stacking brings multiple images together that were taken at different focus points to create an image of full sharpness for your subject.
Because you will be layering images for this technique it's important the camera does not move between shots. The best way to do this is to use a tripod to securely hold the camera. The editing process will require slight crops so make sure you allow a slightly wider shot, so you don't crop out important details. Try not to change your exposure settings for these shots unless you are shooting HDR. Depending on how much blur you want in the background will determine your aperture setting. Now focus on either the front edge or the back edge of your subject (find which is most comfortable for you). Take a picture and change your focus slightly. Do this as you work your way through your subject. It can be anywhere from just three shots to many shots. For increased sharpness you may want to take more pictures but remember more shots take longer in post process to work with.
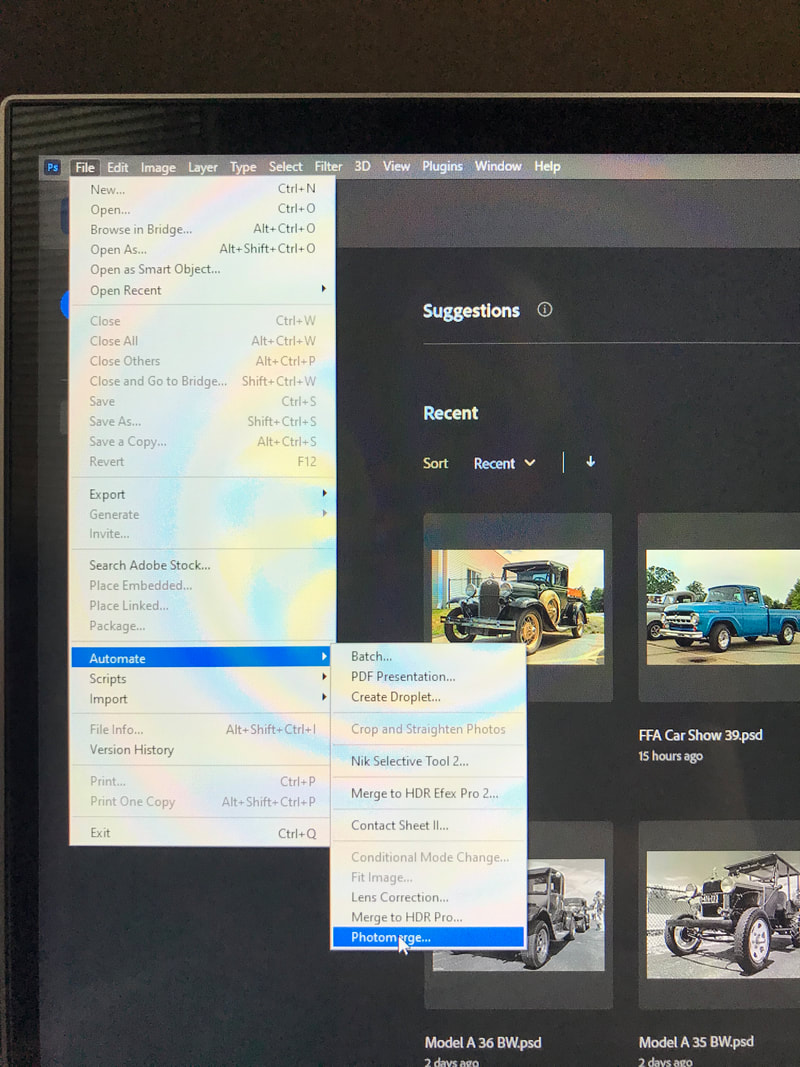
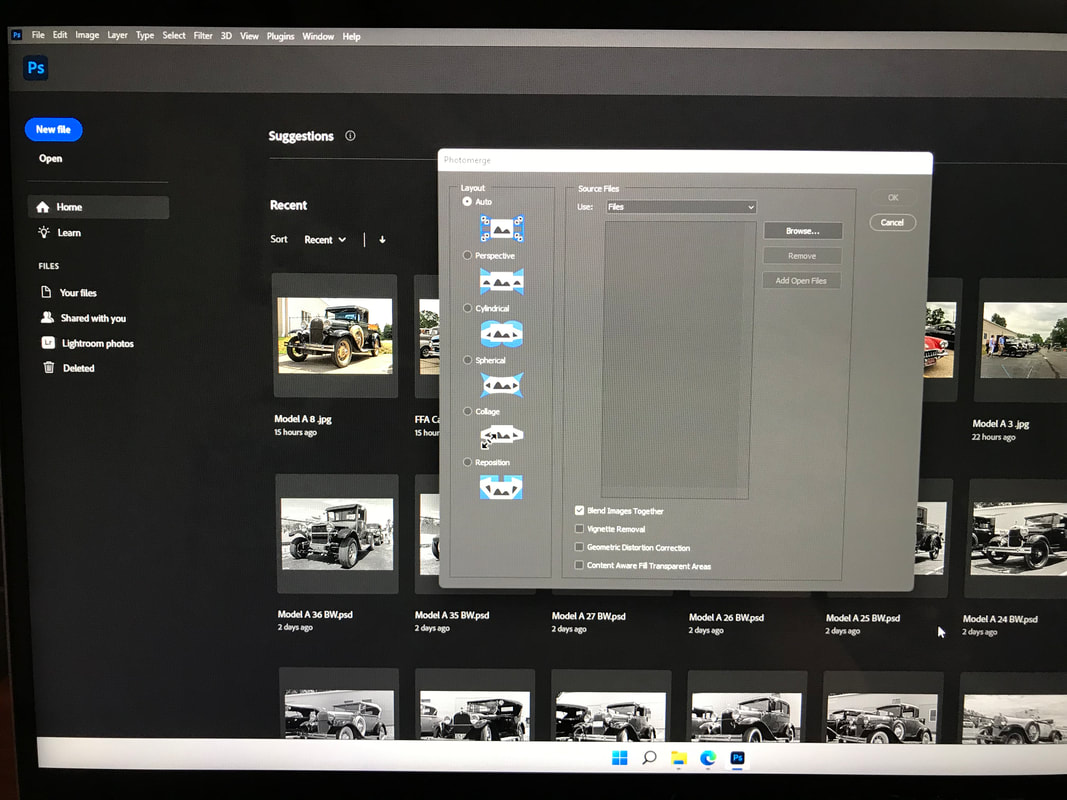
Once you have your shots taken you will need to process them in a program like Photoshop. You can do this in Lightroom but it will move you to Photoshop for part of the operation. In Photoshop go to File>Automate>Photomerge. This will open the Photomerge box. Here you will click on Browse and choose the files you want to use. Once you have chosen your files. make sure layout is set to Auto and unclick the "Blend Items Together" button. (We will do that later.) Now click open and all your files will be stacked as layers when they open.
Once they are opened you can go layer by layer and look at them. If you want to remove an image you can. You can also choose to use what part of the image you want to use. Once you have examined your images go to Edit>Auto_Blend Layers and merge the image. If you are happy, you now merge all your layers down to one layer and continue with any additional edits.
This technique creates beautiful macro shots where you have complete control of the depth of field. It is also a very good way of controlling the depth of field in landscape shots where your cameras sharpest focus can mean the foreground or background is not as sharp. It creates a nicer, sharper look to the final image.
It is also good for landscape photography where you want the object in the foreground as clear and sharp as an object in the background. This can be important because though your image may look sharp all the way through if you enlarge it, you notice it is sharpest at where you focus on. You lose sharpness in-front of and behind that spot.
Focus stacking brings multiple images together that were taken at different focus points to create an image of full sharpness for your subject.
Because you will be layering images for this technique it's important the camera does not move between shots. The best way to do this is to use a tripod to securely hold the camera. The editing process will require slight crops so make sure you allow a slightly wider shot, so you don't crop out important details. Try not to change your exposure settings for these shots unless you are shooting HDR. Depending on how much blur you want in the background will determine your aperture setting. Now focus on either the front edge or the back edge of your subject (find which is most comfortable for you). Take a picture and change your focus slightly. Do this as you work your way through your subject. It can be anywhere from just three shots to many shots. For increased sharpness you may want to take more pictures but remember more shots take longer in post process to work with.
Once you have your shots taken you will need to process them in a program like Photoshop. You can do this in Lightroom but it will move you to Photoshop for part of the operation. In Photoshop go to File>Automate>Photomerge. This will open the Photomerge box. Here you will click on Browse and choose the files you want to use. Once you have chosen your files. make sure layout is set to Auto and unclick the "Blend Items Together" button. (We will do that later.) Now click open and all your files will be stacked as layers when they open.
Once they are opened you can go layer by layer and look at them. If you want to remove an image you can. You can also choose to use what part of the image you want to use. Once you have examined your images go to Edit>Auto_Blend Layers and merge the image. If you are happy, you now merge all your layers down to one layer and continue with any additional edits.
This technique creates beautiful macro shots where you have complete control of the depth of field. It is also a very good way of controlling the depth of field in landscape shots where your cameras sharpest focus can mean the foreground or background is not as sharp. It creates a nicer, sharper look to the final image.
Let's explore each step a little more.
1) The initial shots of your subject.
Take a series of shots of your subject at different focus points. Check this page for setting up these shots Macro Photography You will want a tripod, so each image is the same. This will help keep the subject and the camera in the same position. Now take a series of images changing your focus point with each new image. This can be done by manually changing the focus or using a focus rail.
2) Software for focus stacking images.
Adobe Photoshop
ON1 Photo RAW 2022
Helicon
Zerene Stacker
These are four of the top software for focus stacking. There are also other software's available including several free software. I use Adobe Photoshop so that is the one I will reference here.
3) Working with your images in Adobe Photoshop.
You first need to bring your images into your editing software. With Photoshop go to the upper left corner of the screen and click on the File tab. In the drop-down menu find the Automate tab. Under the automate tab look for the Photomerge tab. Clicking on the Photomerge tab opens the Photomerge box where you can load the images you will be stacking.
|
|
After you load your images into this box unclick the Blend Images Together check mark. (We will blend the images later on.) Now click OK. This will bring the images into Photoshop as layers under one picture with many layers.

|
|
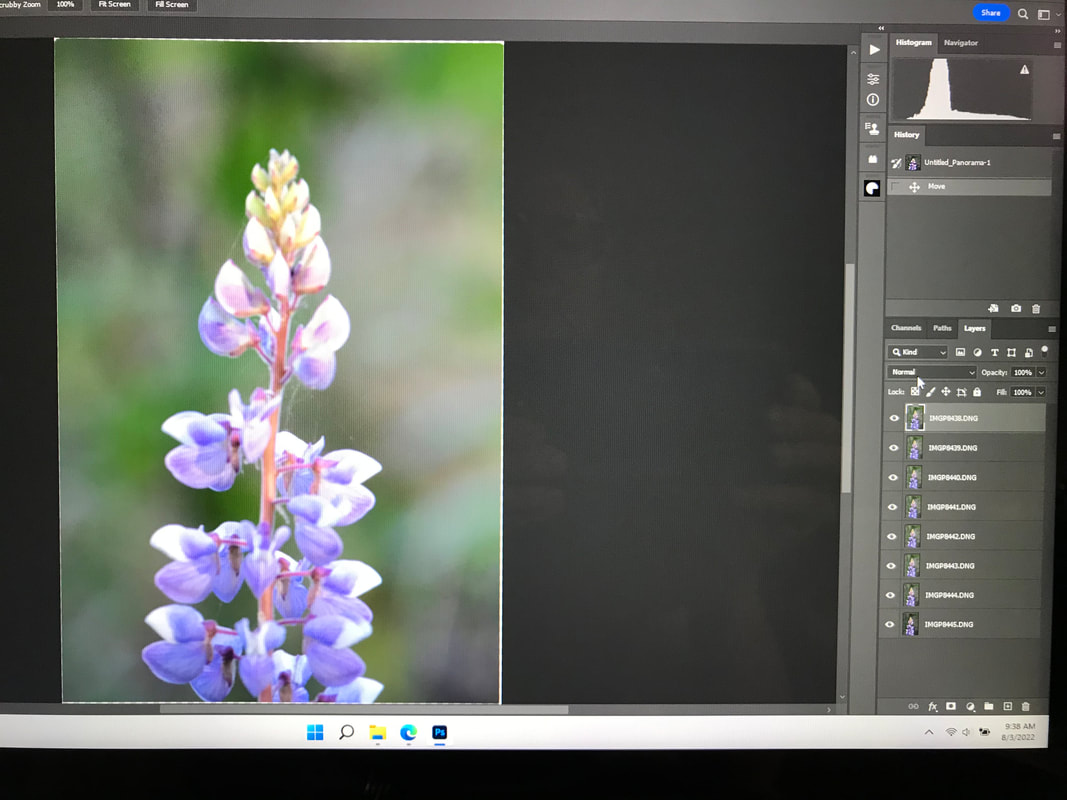
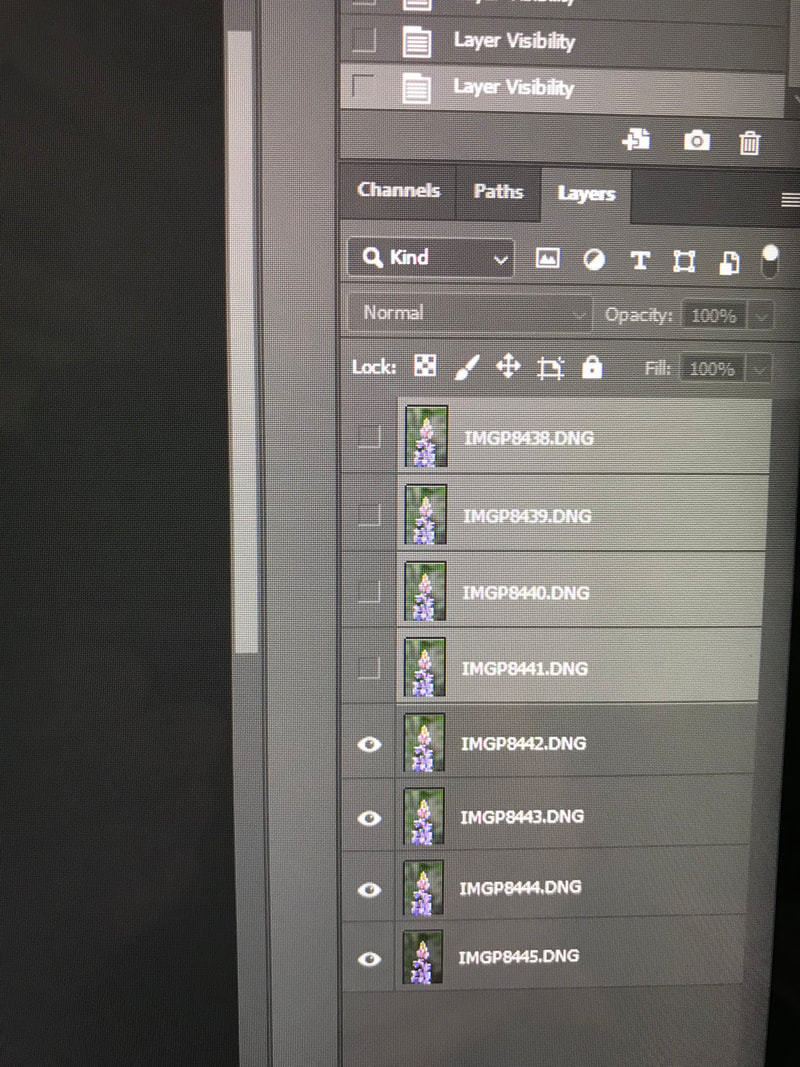
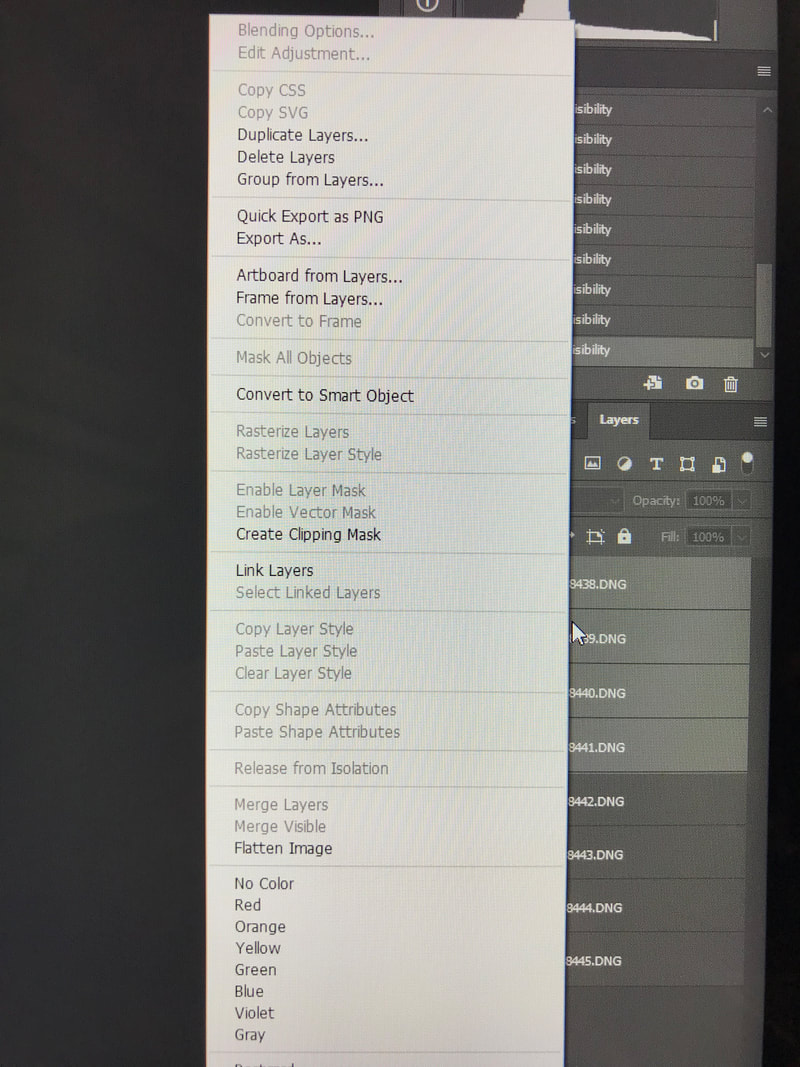
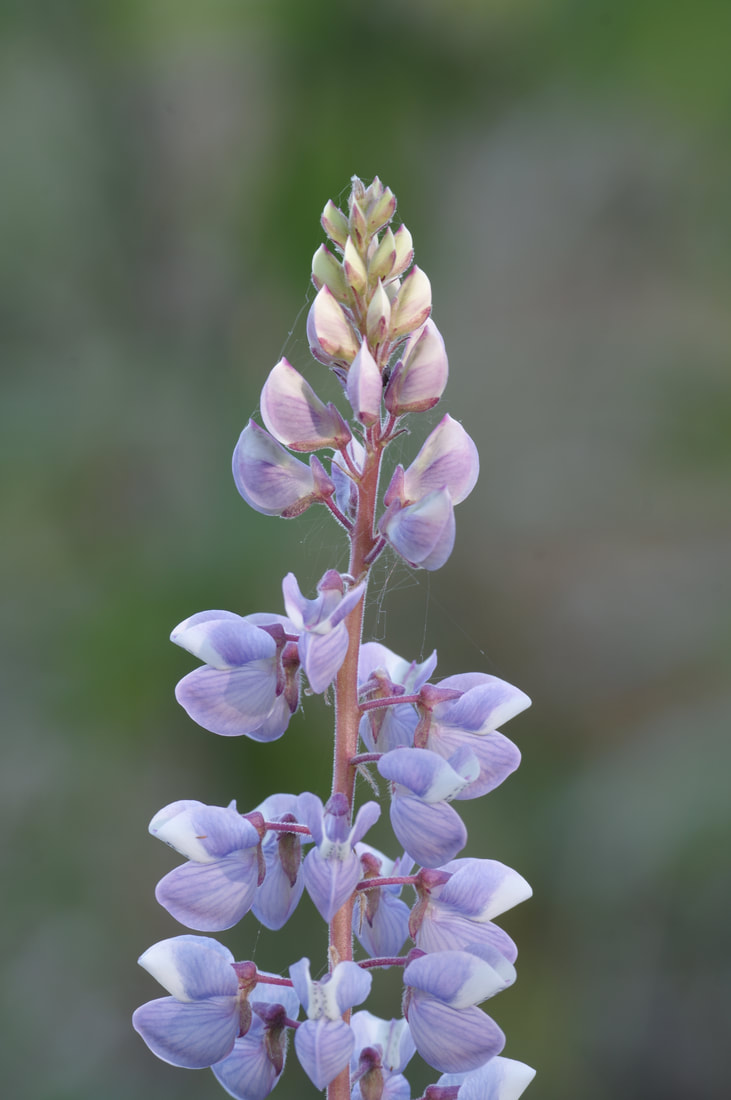
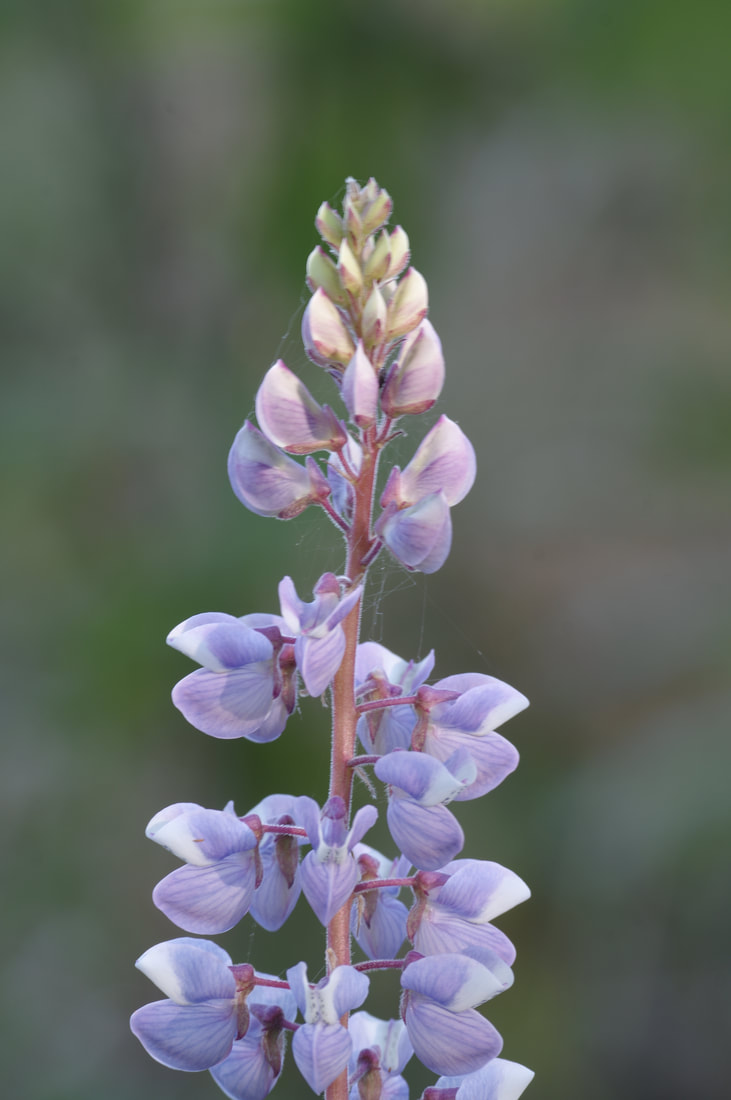
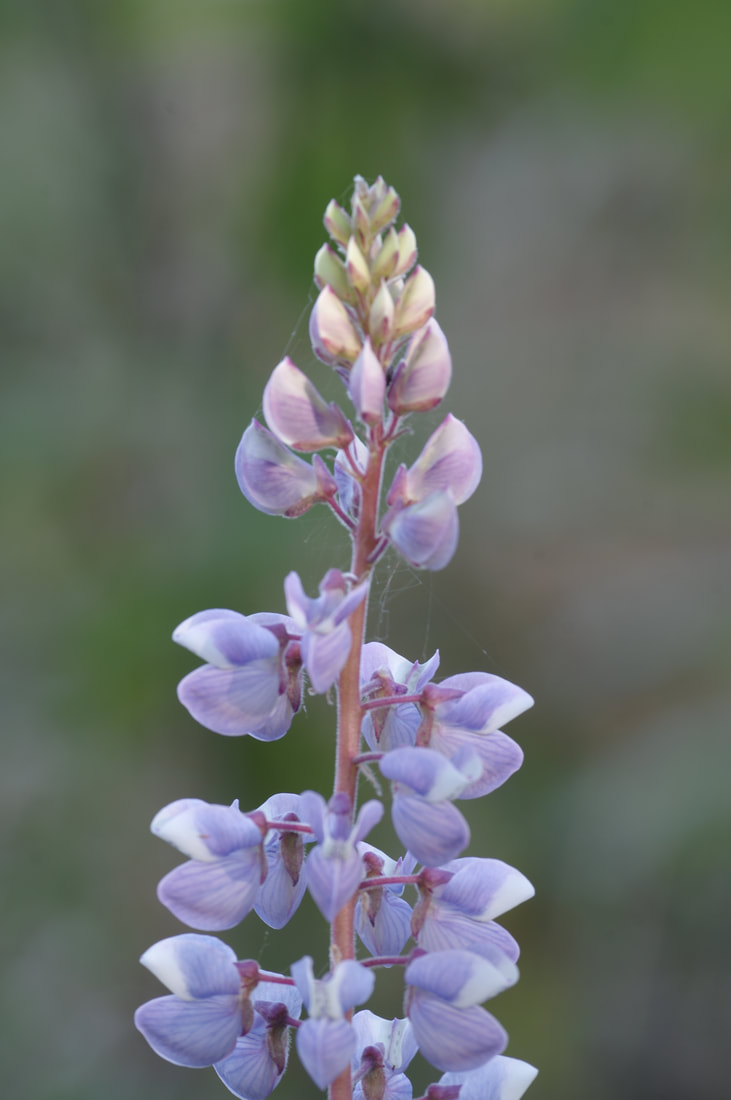
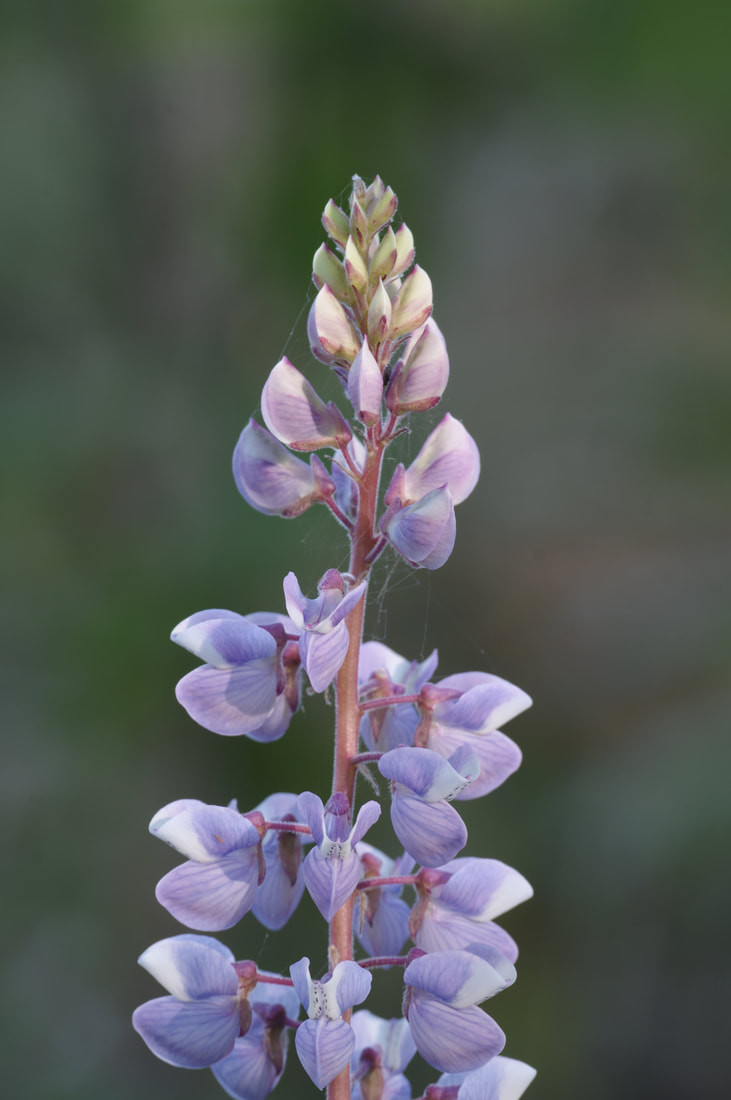
You can now look at each image separately and decide if you want to use all the images or delete some. For the example I originally started with 8 images, but I narrowed it down to four I wanted to use. By highlighting the images, I don't want I can now delete them. To do this right click on the highlighted images and click Delete Layers.
|
|
|
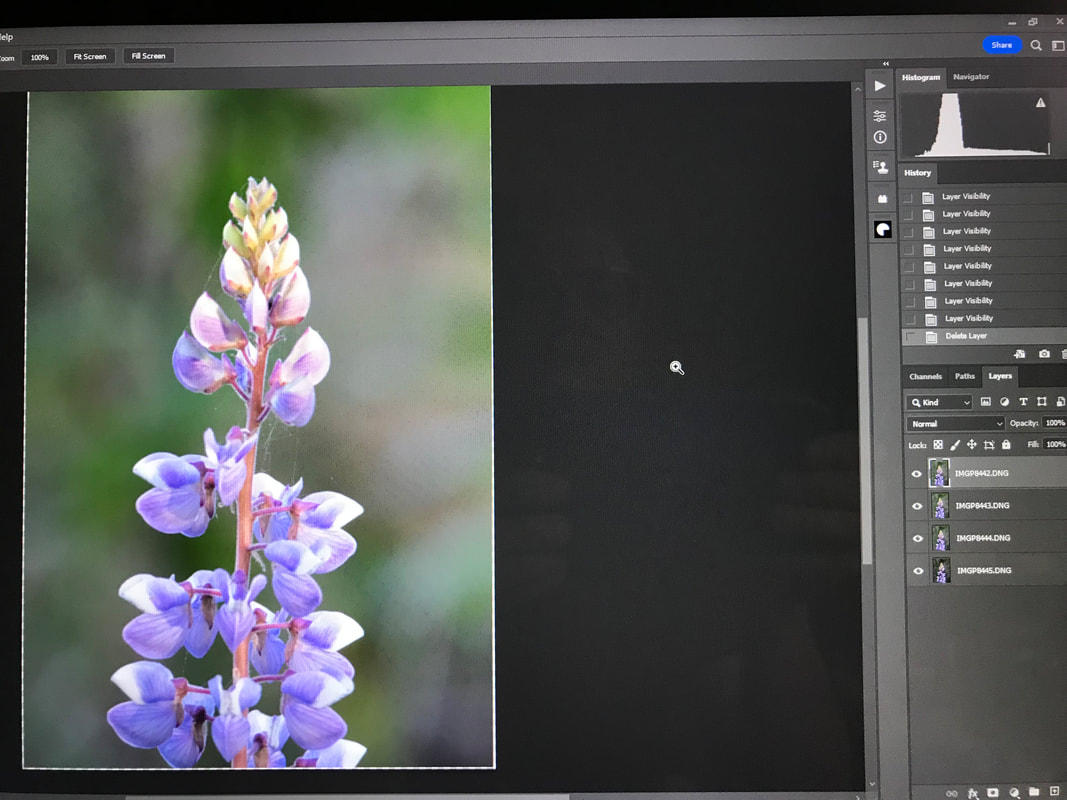
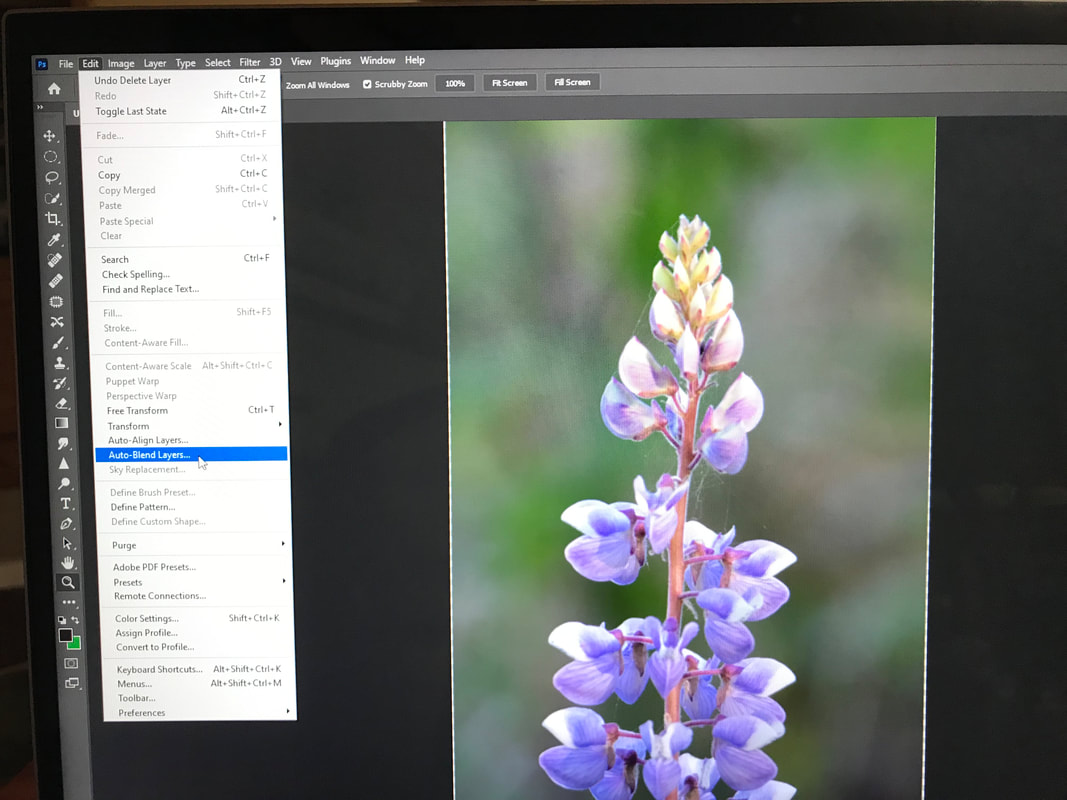
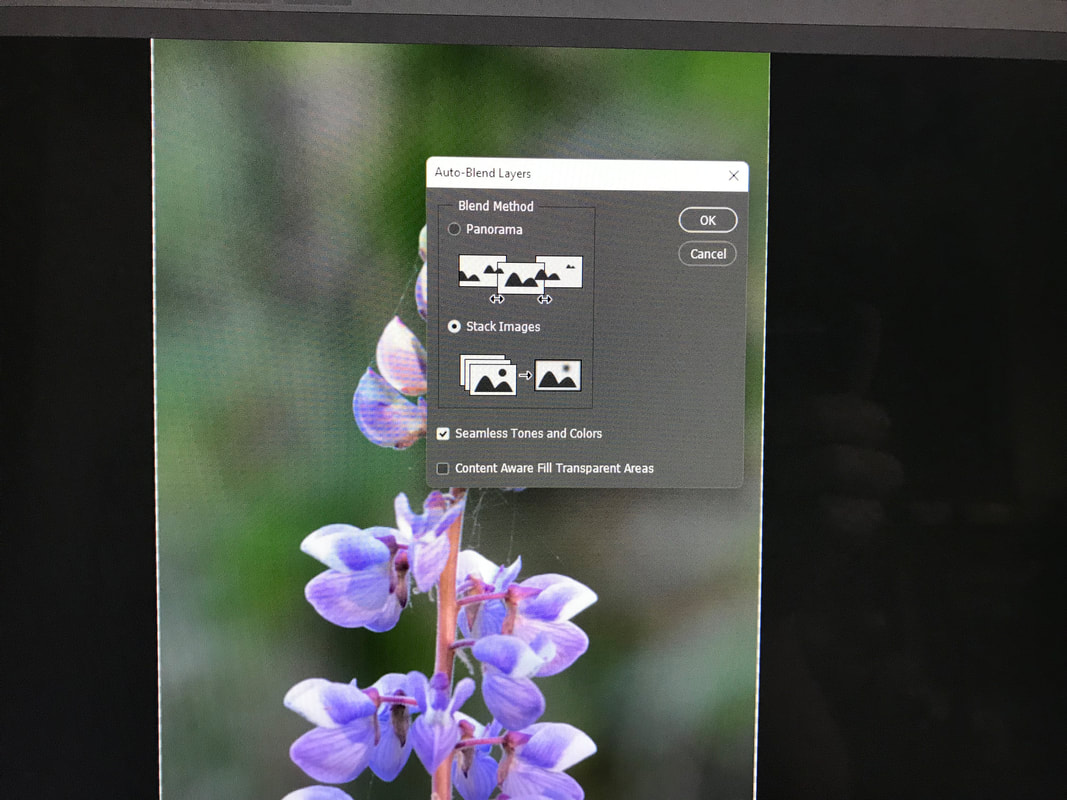
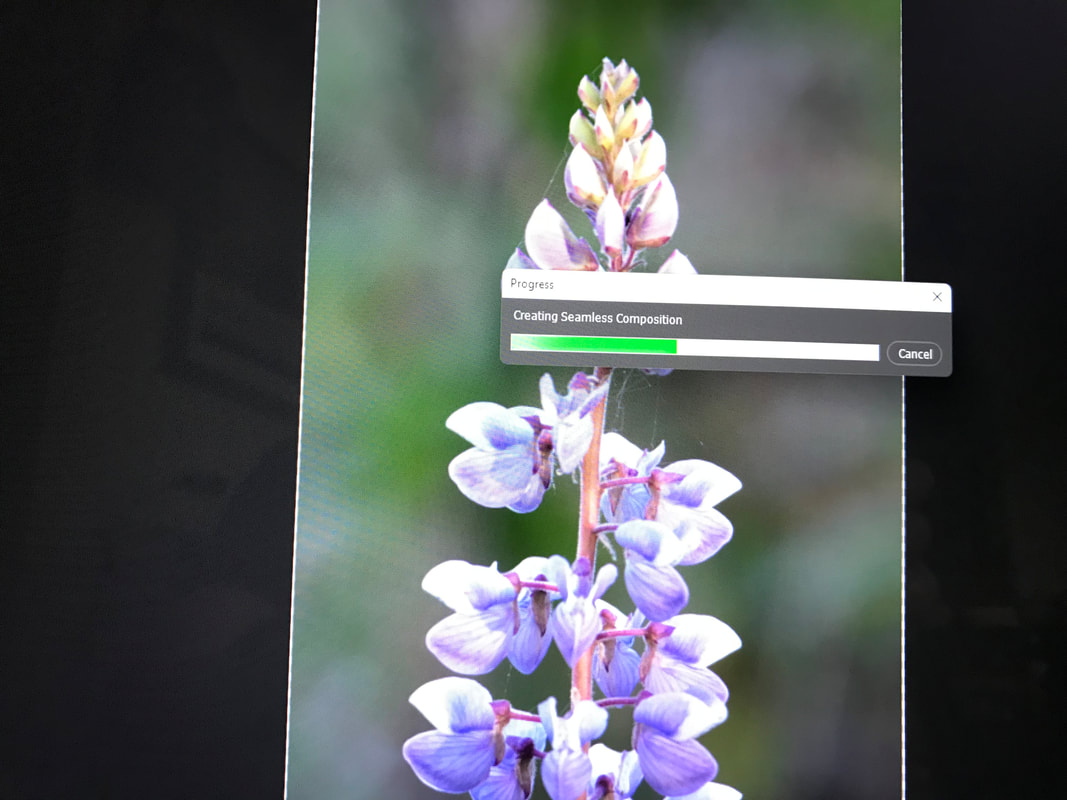
That now leaves the four images I want to use in the layered picture. At this point you can now blend these pictures together by highlighting them, clicking on the Edit tab in the top left corner to open the drop-down menu and click on Auto-Blend Layers. This will open an Auto-Blend Layers box. Make sure the Stack Images and Seamless Tones and Colors buttons are checked and click OK.
|
|
|
|
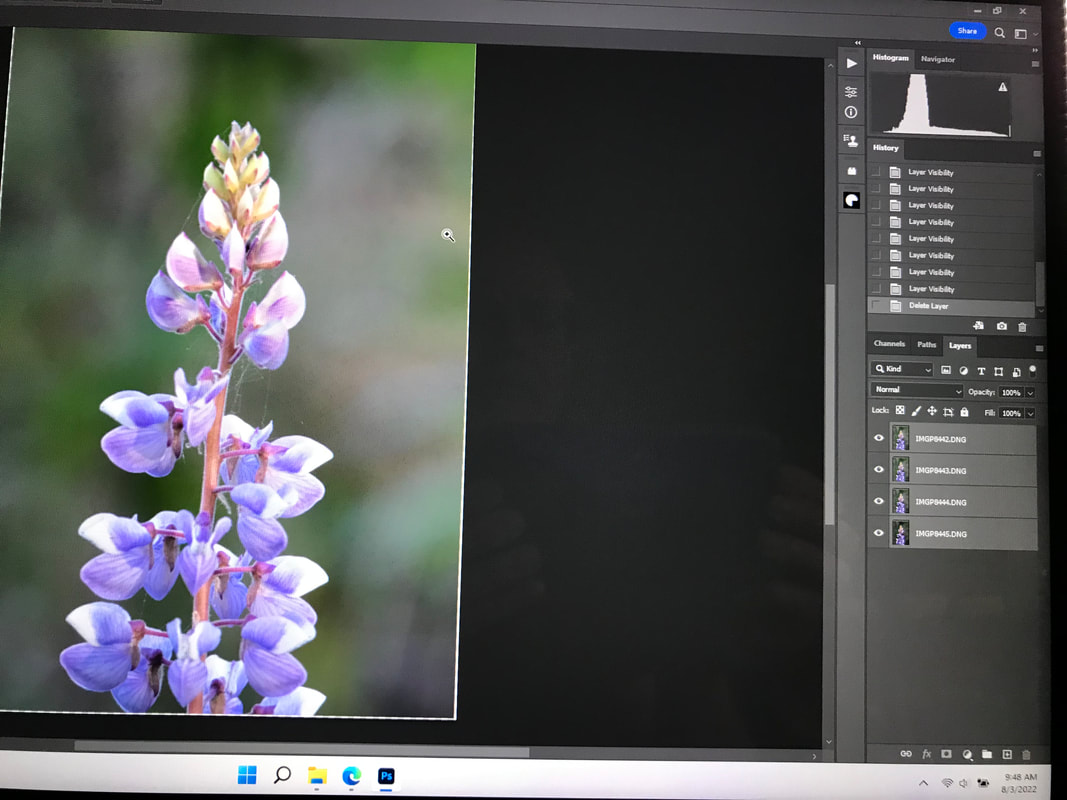
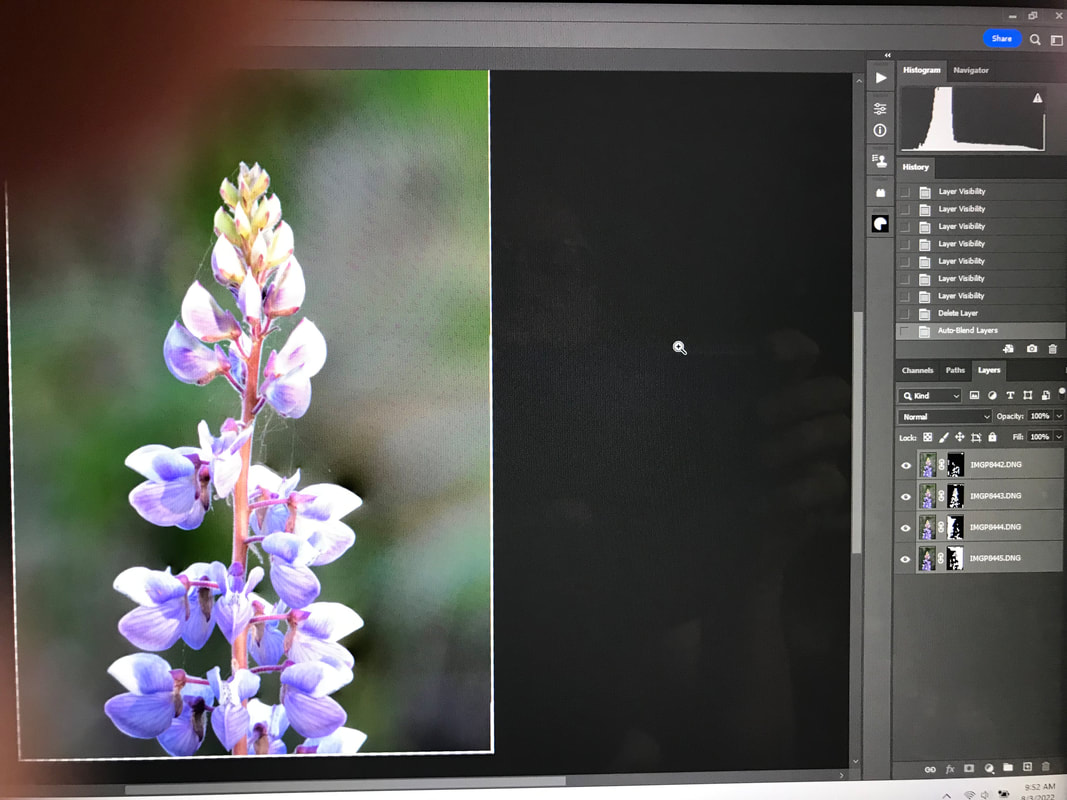
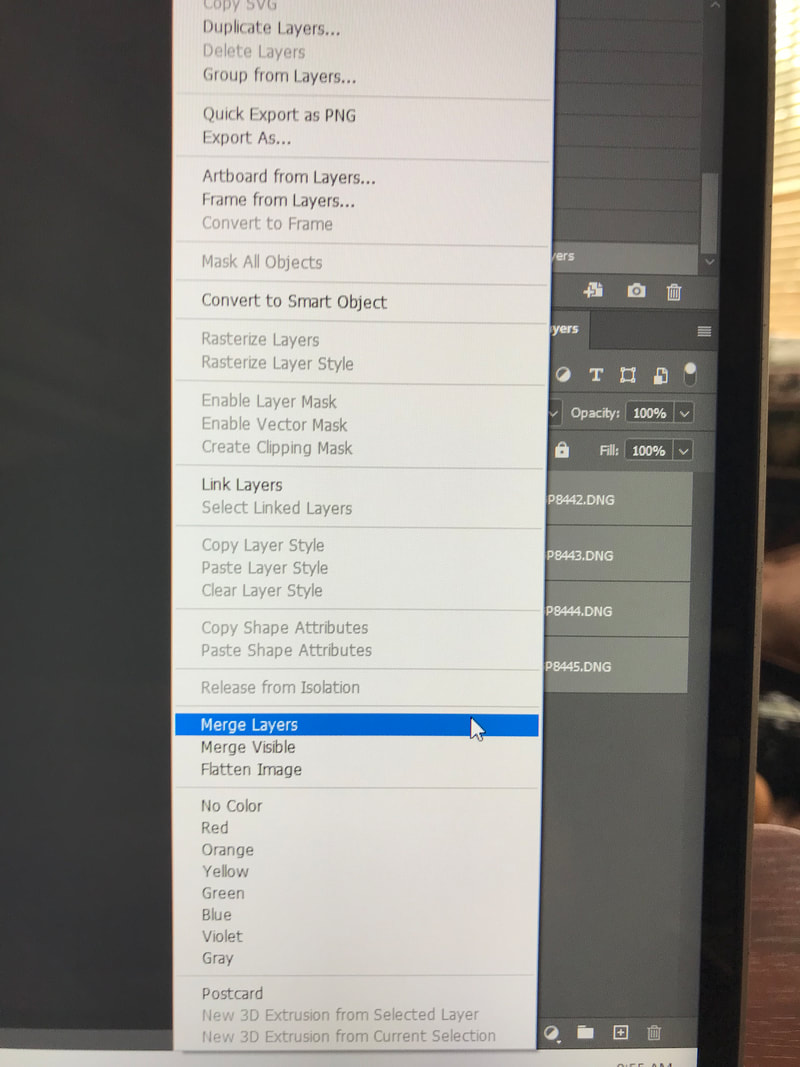
Your images have now been rendered into one image. Look over your image and if you are satisfied merge the layers together. To do this right click on the highlighted images in the layers panel and chose Merge Layers.
|
|
You are now ready to edit your image as you normally would.
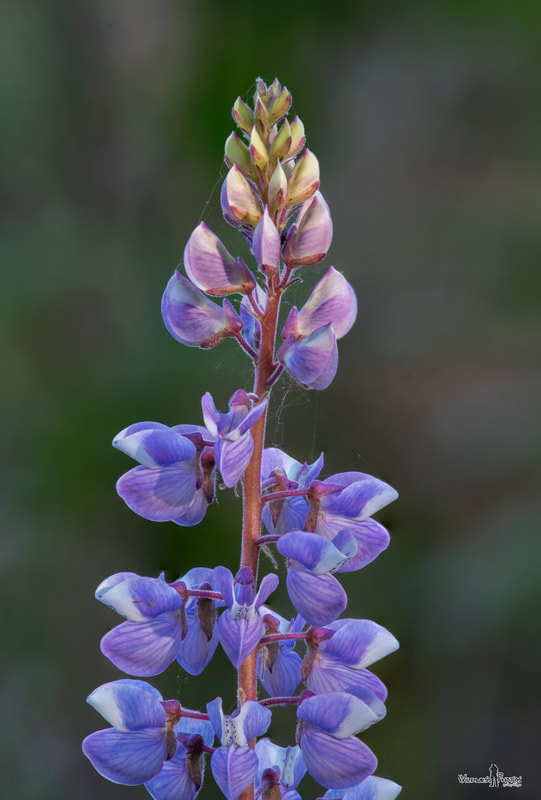
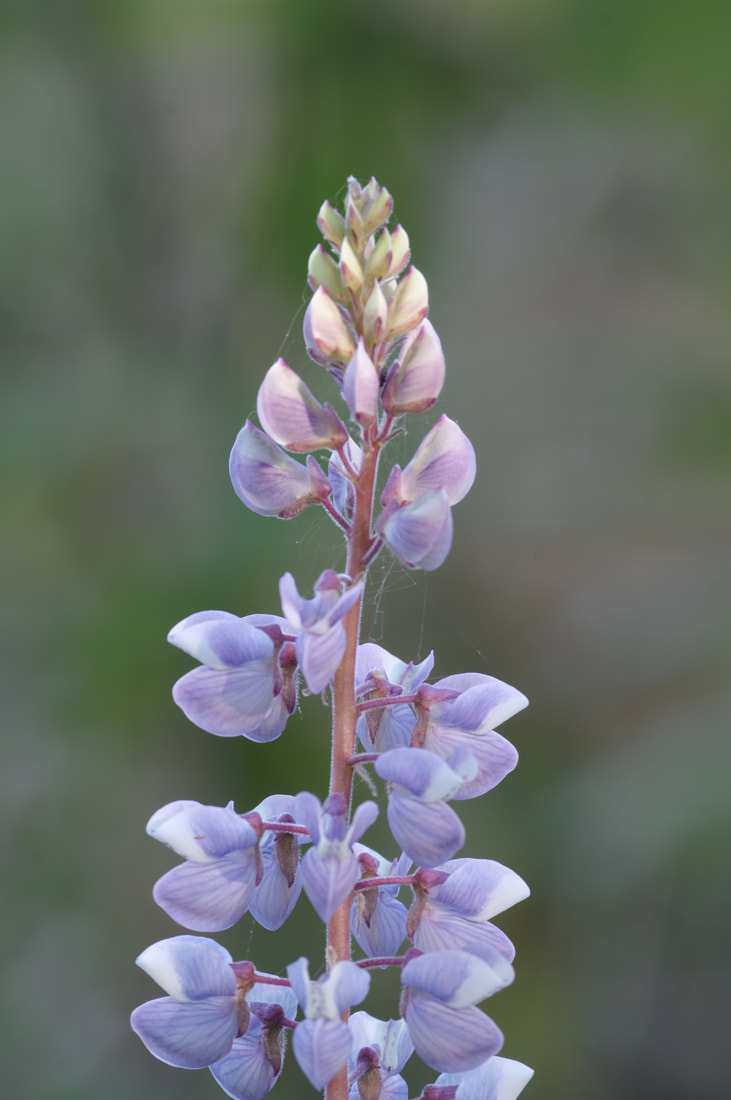
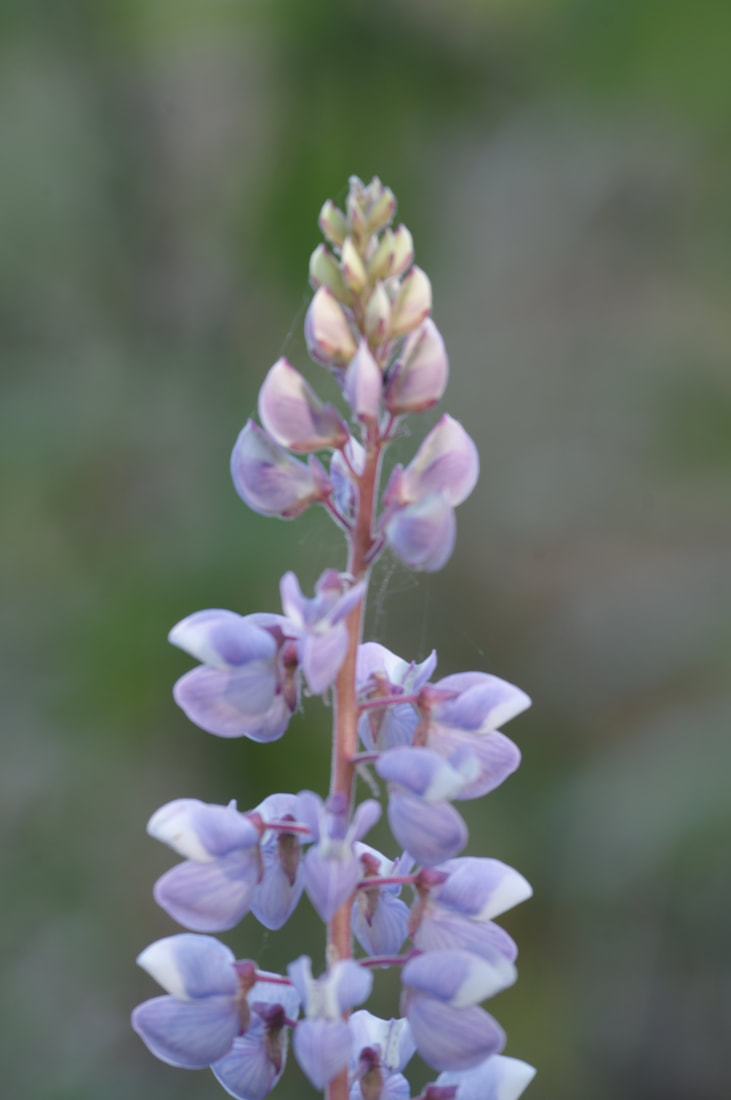
Original eight images

|
|

|
|