From Bokeh to Focus Stacking
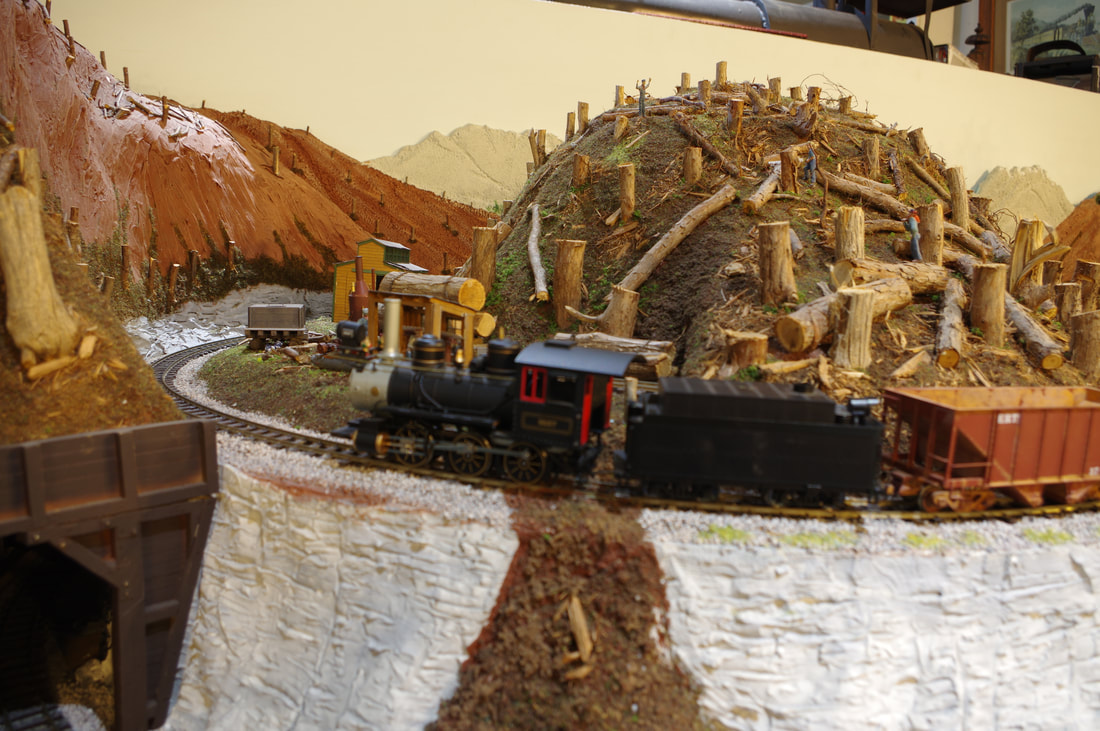
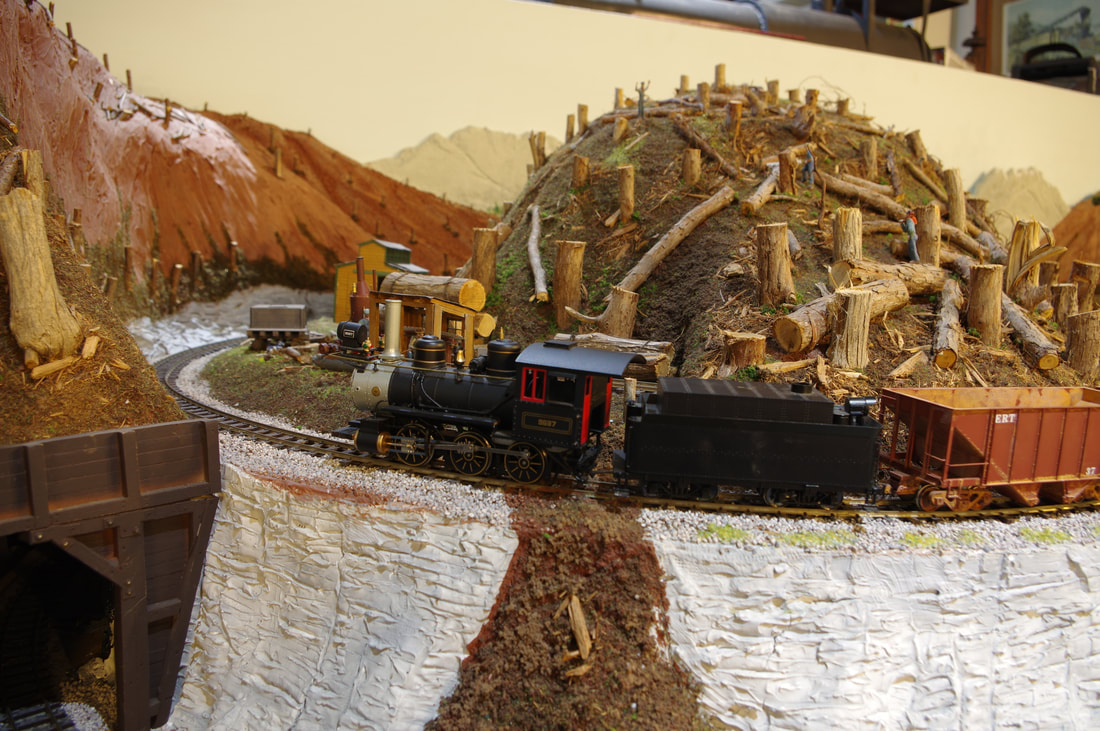
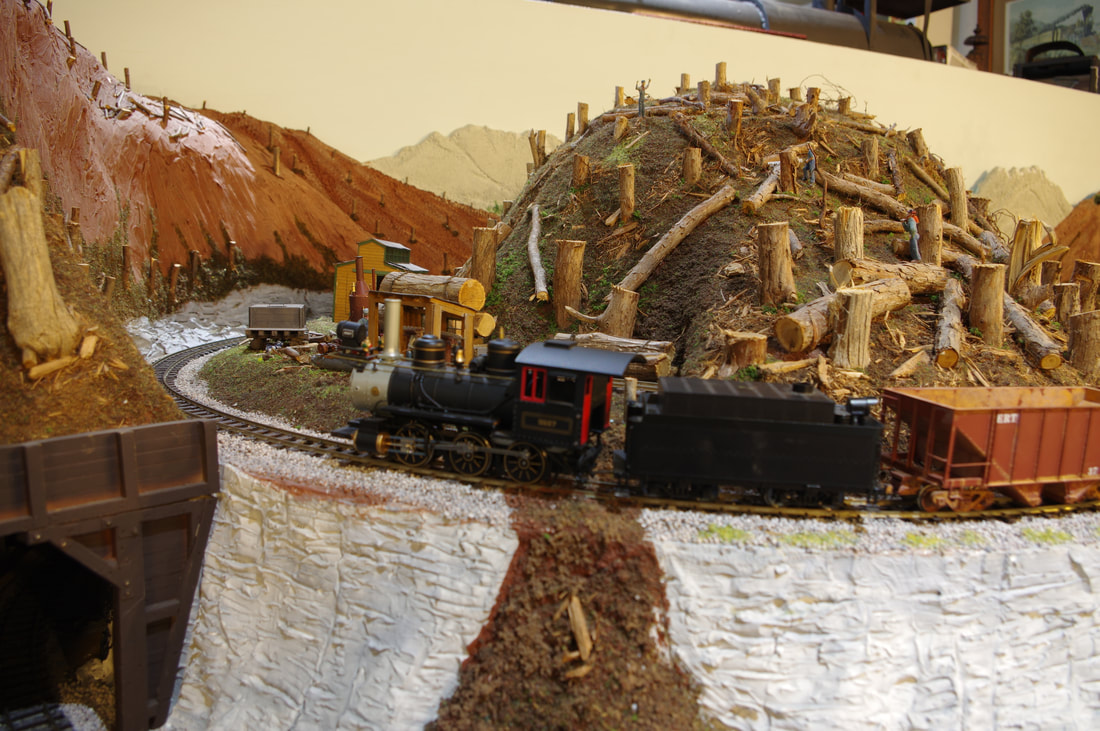
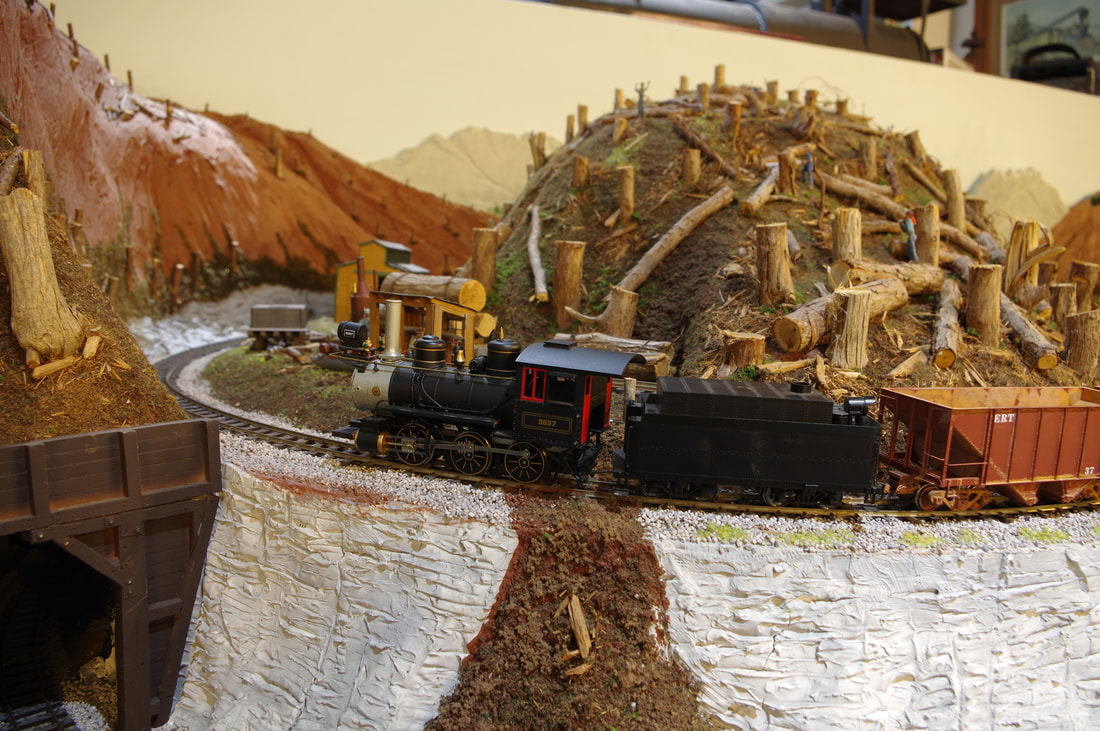
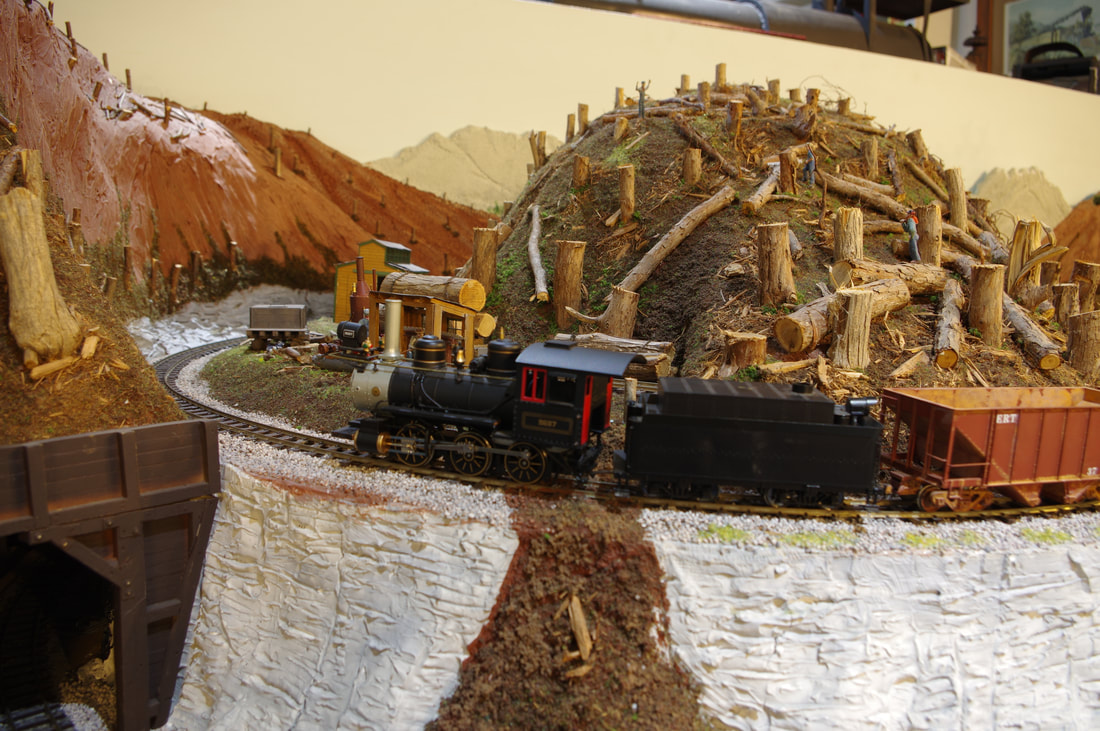
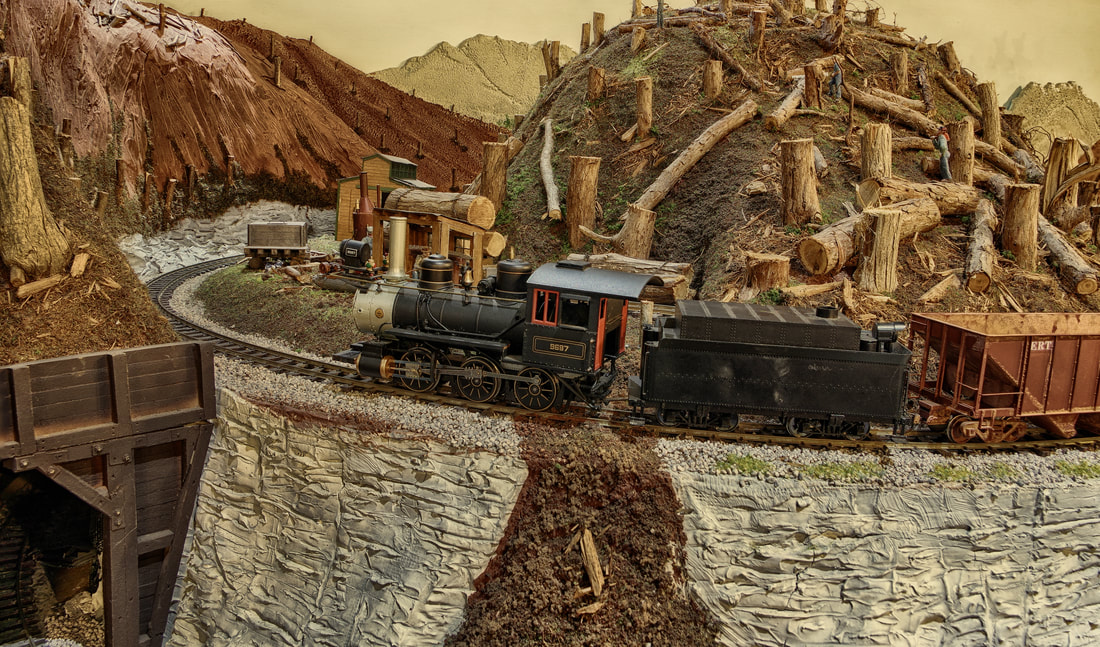
While working on the logistics of an upcoming trip to the Detroit Model Railroad Club layout, I thought this would be a good time to talk about focusing for the shot you want. There are different ways to focus for macro and close-up shots. Both Bokeh and Focus Stacking can help make your images more outstanding, plus these techniques can work with Landscape shots as well.
Bokeh
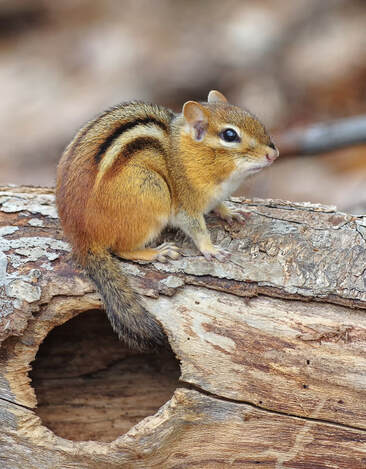
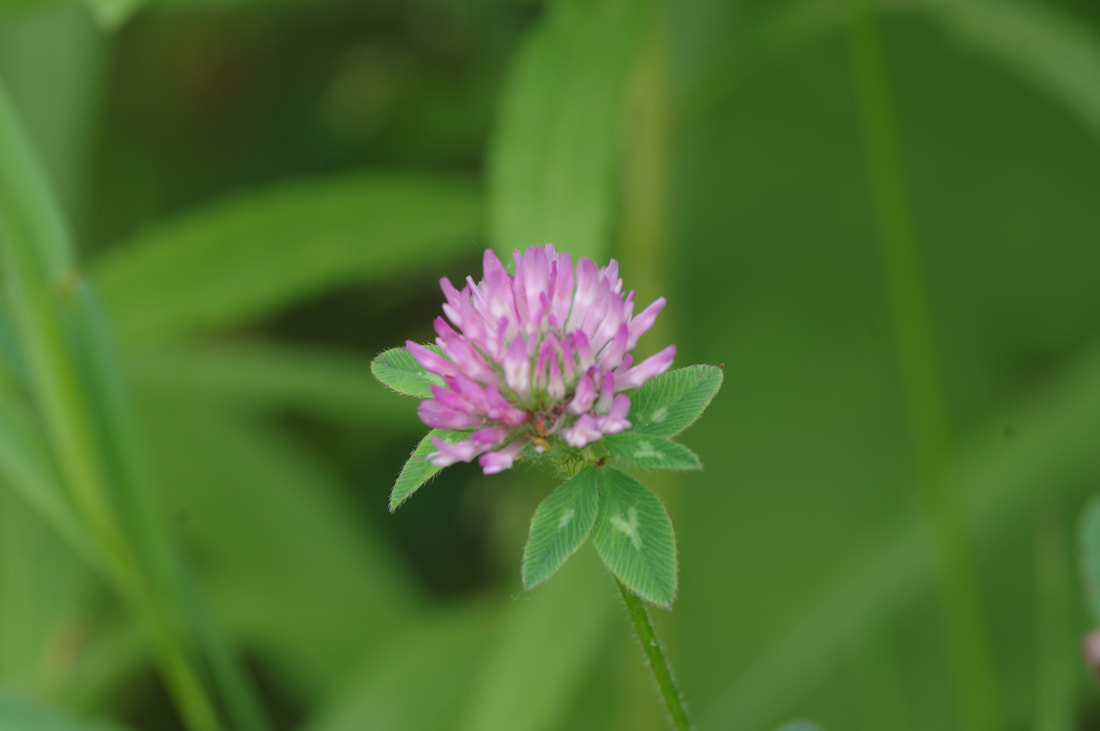
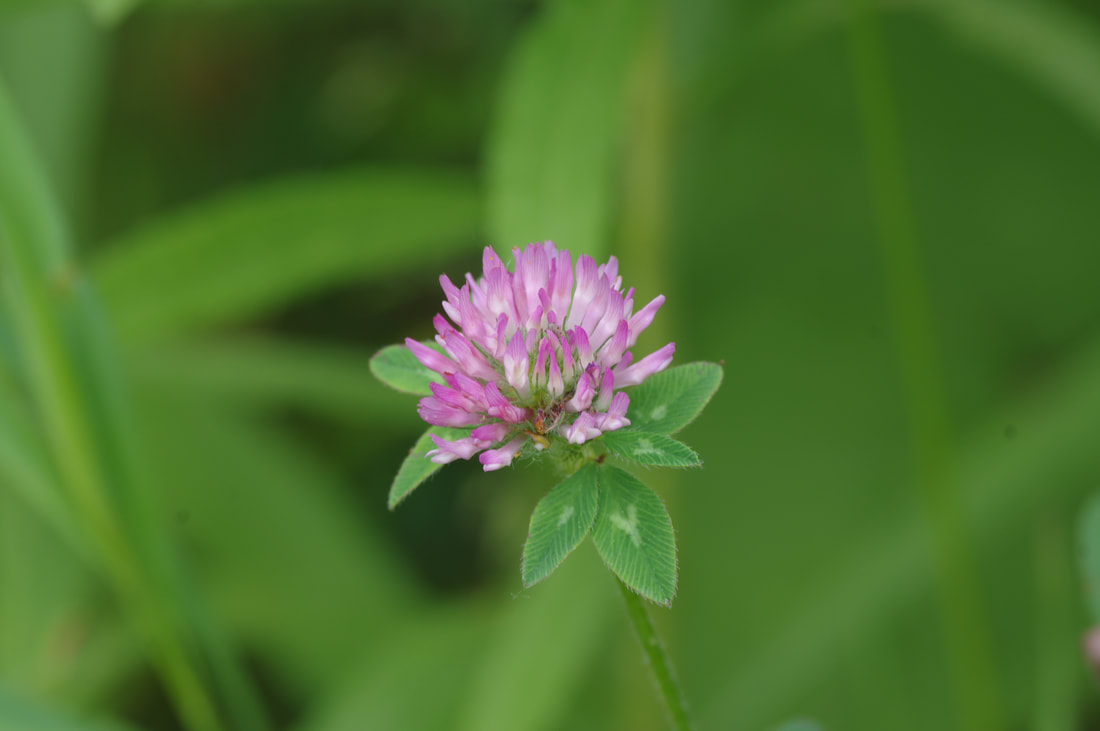
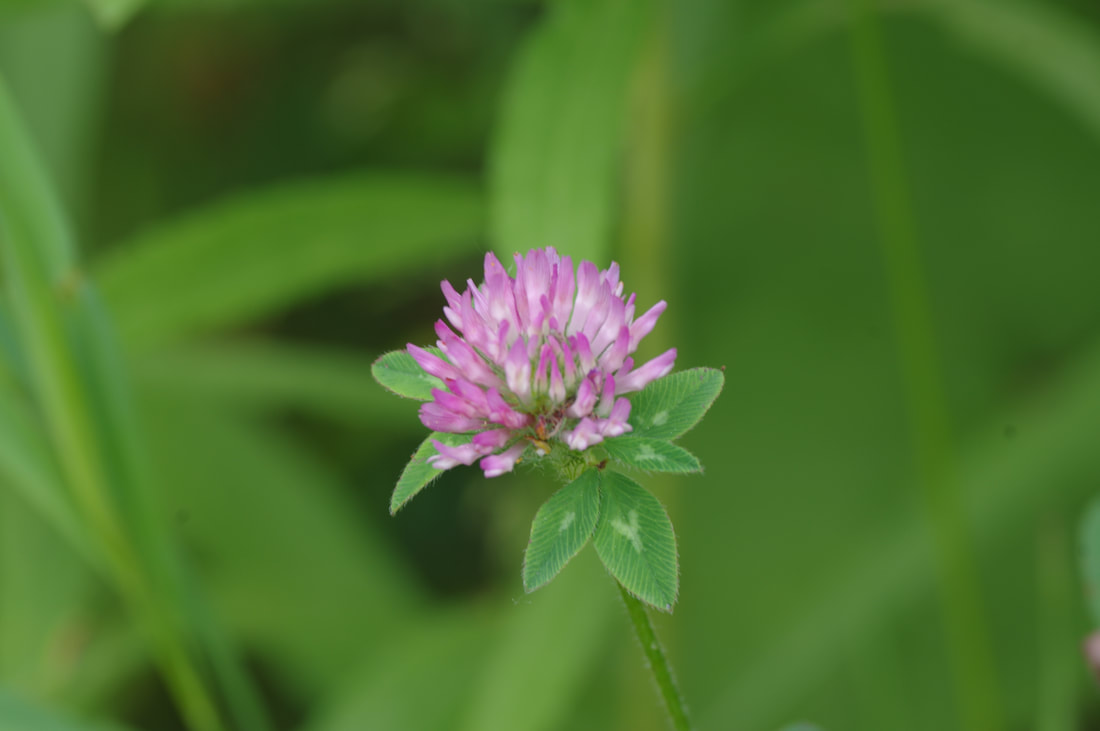
This technique is created by blurring parts of the foreground or background and sometimes both to focus the attention on the subject of the photograph. It is a very popular technique in photography because the results are often the most visually pleasing.
To create a pleasing bokeh, you need to use the right lens. Not all lenses create good bokeh. Since bokeh is created by the lens and not the camera, you need a lens with large maximum apertures. Telephoto and portrait lenses produce the nicest bokeh where many zoom lenses produce much poorer bokeh affects. This is due to the optical designs of the different lenses. A pleasing bokeh is going to be a soft blur where a bad bokeh has a harsher look (double lines and sharp edges on lighter circles.
To create a nice bokeh set you aperture to the lowest number. Now take a picture of your subject. You want the subject in focus while the background (or foreground) is blurred. The blur should be soft and fuzzy with no hard edges.
Focus Stacking
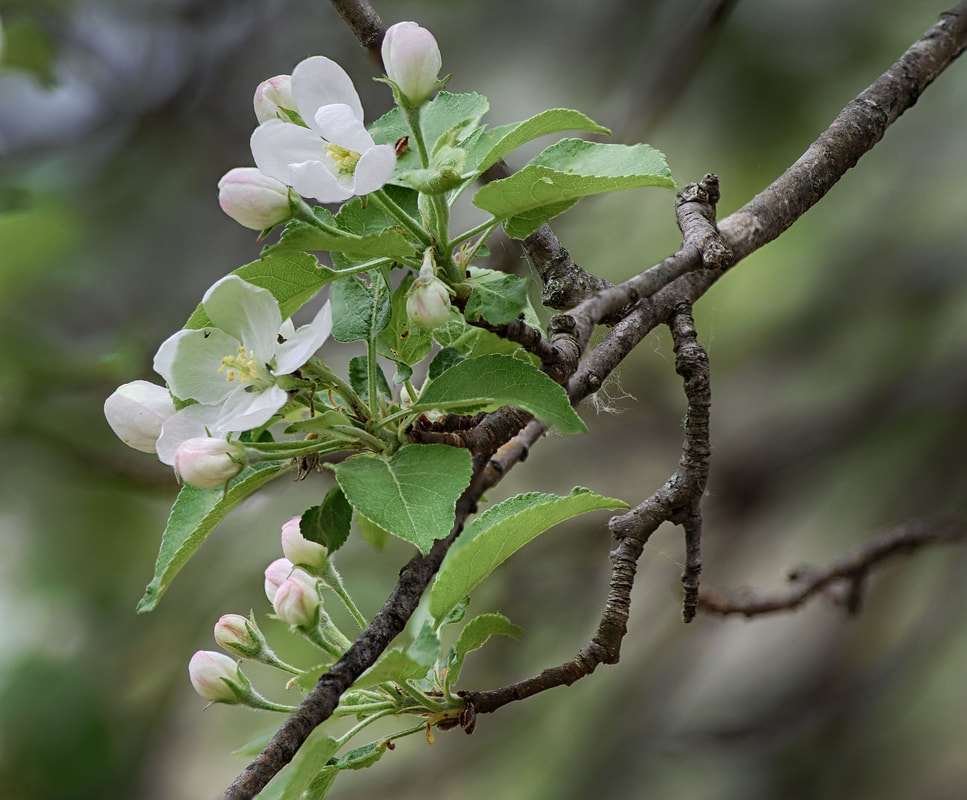
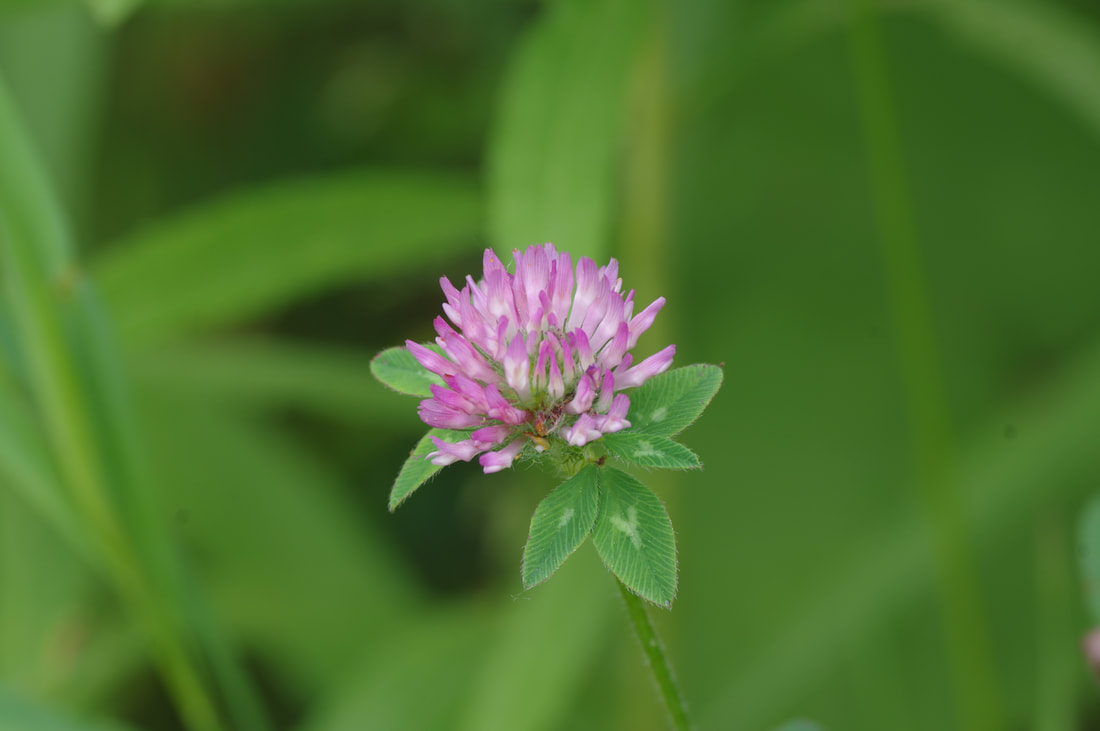
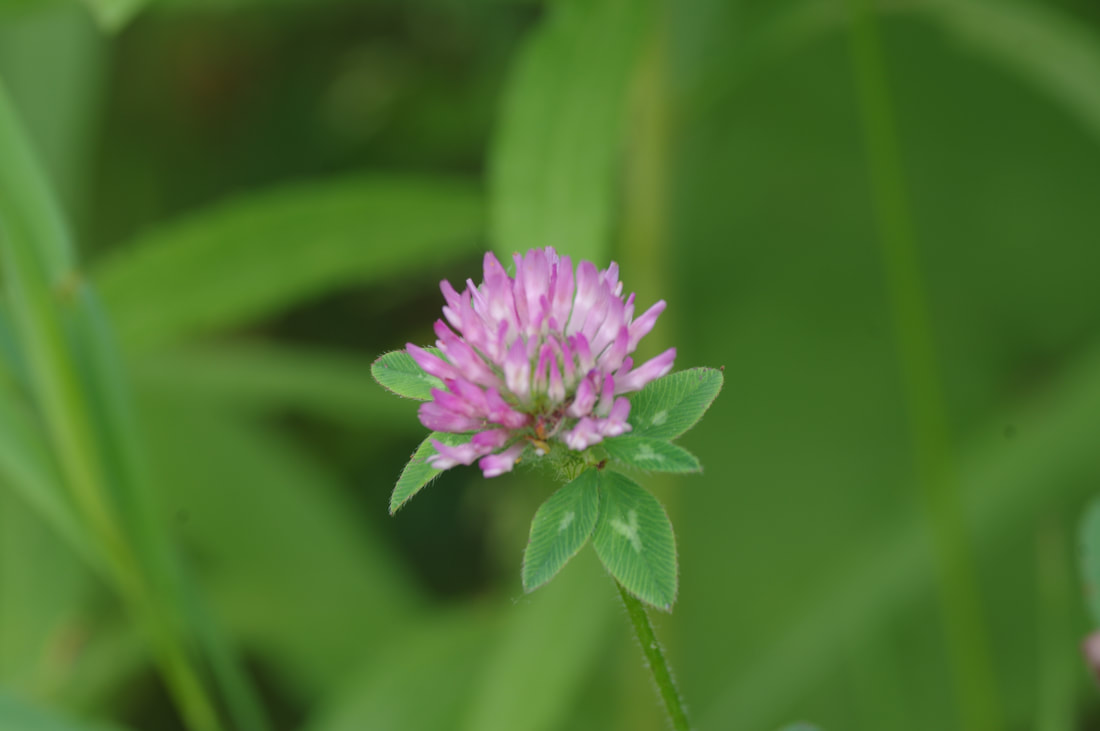
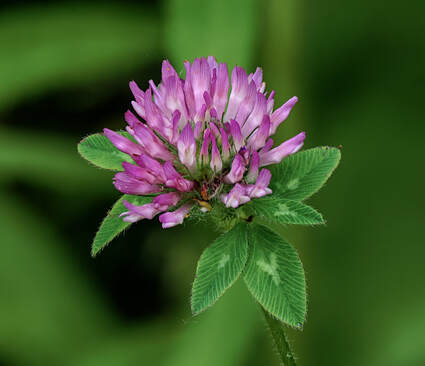
This technique is a way to further control your depth of field. By doing this you control how much of your image is in focus. It is often used in macro photography like insects and flowers. But getting close up to your subject creates a small depth of field and this technique allows you extend your depth of field.
It is also good for landscape photography where you want the object in the foreground as clear and sharp as an object in the background. This can be important because though your image may look sharp all the way through if you enlarge it, you notice it is sharpest at where you focus on. You lose sharpness in-front of and behind that spot.
Focus stacking brings multiple images together that were taken at different focus points to create an image of full sharpness for your subject.
Because you will be layering images for this technique it's important the camera does not move between shots. The best way to do this is to use a tripod to securely hold the camera. The editing process will require slight crops so make sure you allow a slightly wider shot, so you don't crop out important details. Try not to change your exposure settings for these shots unless you are shooting HDR. Depending on how much blur you want in the background will determine your aperture setting. Now focus on either the front edge or the back edge of your subject (find which is most comfortable for you). Take a picture and change your focus slightly. Do this as you work your way through your subject. It can be anywhere from just three shots to many shots. For increased sharpness you may want to take more pictures but remember more shots take longer in post process to work with.
Once you have your shots taken you will need to process them in a program like Photoshop. You can do this in Lightroom but it will move you to Photoshop for part of the operation. In Photoshop go to File>Automate>Photomerge. This will open the Photomerge box. Here you will click on Browse and choose the files you want to use. Once you have chosen your files. make sure layout is set to Auto and unclick the "Blend Items Together" button. (We will do that later.) Now click open and all your files will be stacked as layers when they open.
Once they are opened you can go layer by layer and look at them. If you want to remove an image you can. You can also choose to use what part of the image you want to use. Once you have examined your images go to Edit>Auto_Blend Layers and merge the image. If you are happy, you now merge all your layers down to one layer and continue with any additional edits.
This technique creates beautiful macro shots where you have complete control of the depth of field. It is also a very good way of controlling the depth of field in landscape shots where your cameras sharpest focus can mean the foreground or background is not as sharp. It creates a nicer, sharper look to the final image.
