|
|
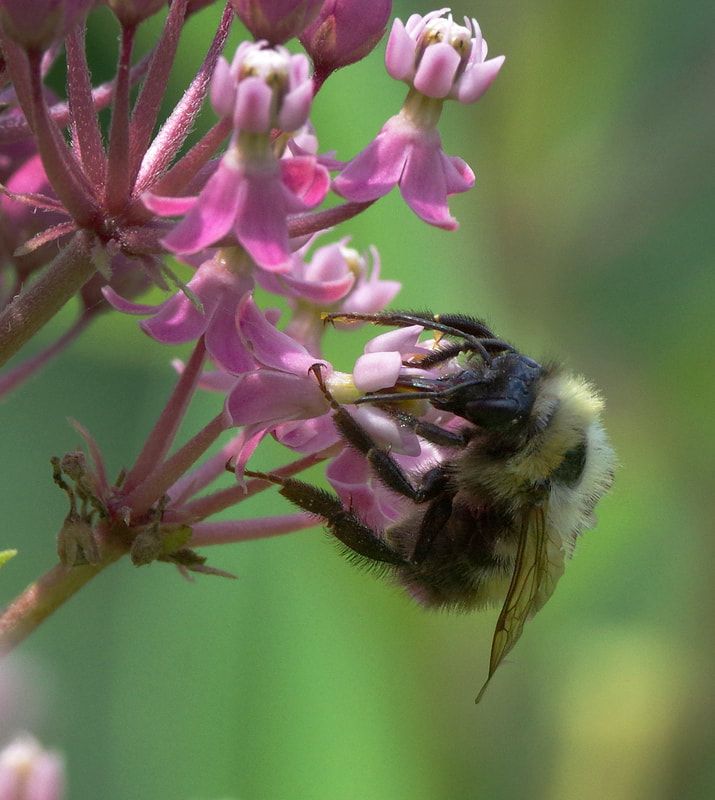
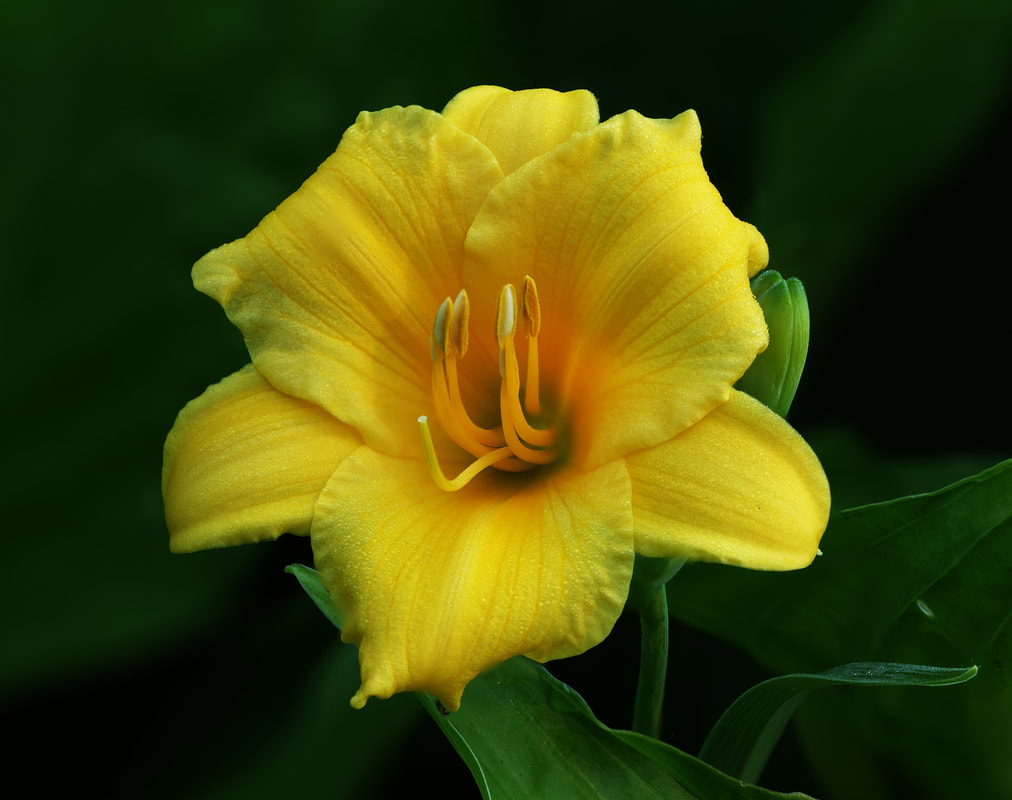
Macro Photography
Macro Photography and Close-Up Photography are the techniques used to make something small look big. It is most often used to shoot small things like insects, flowers, water droplets or even miniature scenes and make them fill the image.
Most Point and Shoot cameras can be used for Macro Photography. They include a Macro Mode setting that does a good job for macro work. A DSLR camera gives you even more flexibility for Macro Photography.
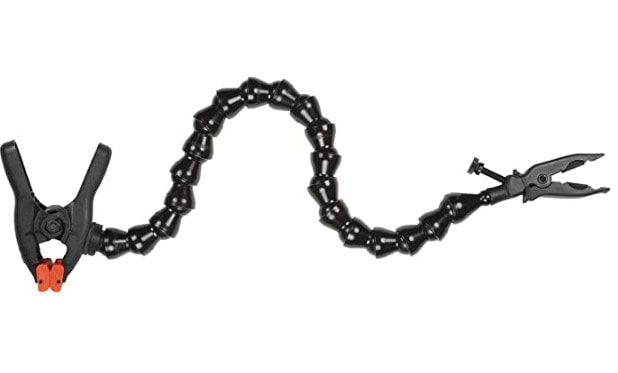
There is some additional gear you might want to consider if you are taking macro pictures.
Lens
Your lens will determine the techniques you use with macro photography. Having a dedicated lens for macro images is the easiest and quickest way to get the shots you are after. A standard macro lens will have a focal length of between 90mm and 105mm and a 1:1 magnification. Remember the shorter the focal length the closer to the subject you will need to be. Having a lens with a focal length between 50mm-60mm is great for plants, flowers, and inanimate objects. For insects and wildlife, a lens of at least 100mm is generally the rule.
Some photographers use a standard prime lens that they remove from their camera and reverse it, placing the front of the lens against the camera body. If you have a steady hand you can try to handhold the lens or you can purchase a threaded reversing ring that is made for this purpose. This can be done with most prime lenses, but it works best with a 50mm lens.
Extension Tubes
If you are using a DSLR camera you can also take macro images using Extension Tubes. These are hollow tubes that attach between your camera body and your lens, changing the minimum focus distance of your lens. You can also use more than one tube increasing the length allowing you to get closer to an object with a steady focus. But using an extension tube also means there will be some light loss on your image so adjustments will need to be made.
Tripod
Like many other types of photography, a good tripod can make a big difference. With Macro Photography you want to create the sharpest image you can so a tripod is a must.
Other Gear
A remote shutter release and a light ring can also be helpful. A remote shutter release allows to take a picture without touching the camera while it is on the tripod. This way you can reduce camera shake. If your camera has a mirror lock function, you should use this also to reduce camera shake.
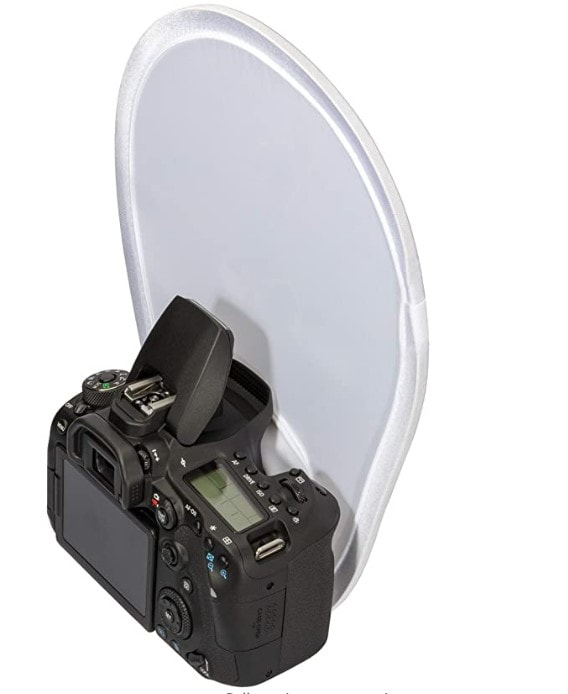
A light ring that attaches to the front of your lens can help add extra light to bring out details. This can also be accomplished bey using a small flashlight to act as a filler light.
Taking Macro Shots
Your working distance
The distance you place your camera from your object will be determined by several things. In general, you should have a working distance of at least six inches, so you are not blocking too much light from your subject. Also, the focal length of your lens will determine how close you can get. A lens with a longer focal length will mean you will need to be back further from your object. The object itself will tell you how close you can get. Insects and wildlife will not tolerate you being too close to them.
Depth of Field
The closer you are to your subject the shallower Depth of Field you will have. Because of this getting all of your subject in focus can be difficult. With a point and shoot there isn't much you can do. But, with a DSLR camera you can increase the f-stop setting. An f-stop between f/8 and f/16 give the best overall results. You can also try increase the ISO setting. But, this can result in added noise to your image. With any other technique practice helps improve your shots.
Move Your Subject
If possible, move your subject instead of your camera. In the field this is often not possible but in a controlled area this is a better solution.
Manage Your Shutter Speed
In Macro Photography you will be shooting in slower shutter speeds. A very steady hand, or better yet, a tripod is necessary. You will also what to pay attention to the background. Any wind can cause movement to your subject. A windscreen can come in handy. Also, if your subject is an insect wait until they stop moving to get a clear shot.
Diffusing Your Light Source
If you are using your camera flash for additional light, you may find it causes a shadow of the camera or lens on your subject. You may want to bounce your light off a whiteboard to give your subject even lighting. This will cause a softer light to fill your frame.
Use Manual Focus
With a Point and Shoot you have very little control on focusing, but with a DSLR you can focus on the part of your image you want in-focus. Autofocus doesn't work well with close-up work so make your adjustments manually.
Try Focus Stacking
If you want even more control over Depth of Field Focus Stacking is an option. This technique is where you take the in-focus parts of several images and combine them to get a final, focused shot. Take several images of your subject, changing the focus slightly between each shot. By combing them together you have a final, clear image.
There are several software's that will do this for you. A few of them are free.
Several of them are found on this website
7 Best Focus Stacking Software in 2022 (fixthephoto.com)
Here are a few YouTube videos that may help you
Close Up Photography Tips from Bryan Peterson - YouTube
Macro Photography: You Keep Shooting with Bryan Peterson - YouTube
SPRING HAS SPRUNG 1 - YouTube
An Introduction To Macro Photography - YouTube
Macro Photography for Beginners – Complete Tutorial - YouTube
How To Use Macro (Close Up) Filters - YouTube
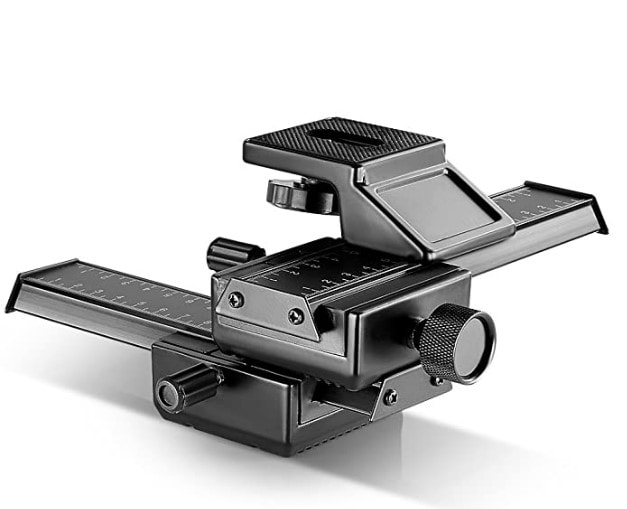
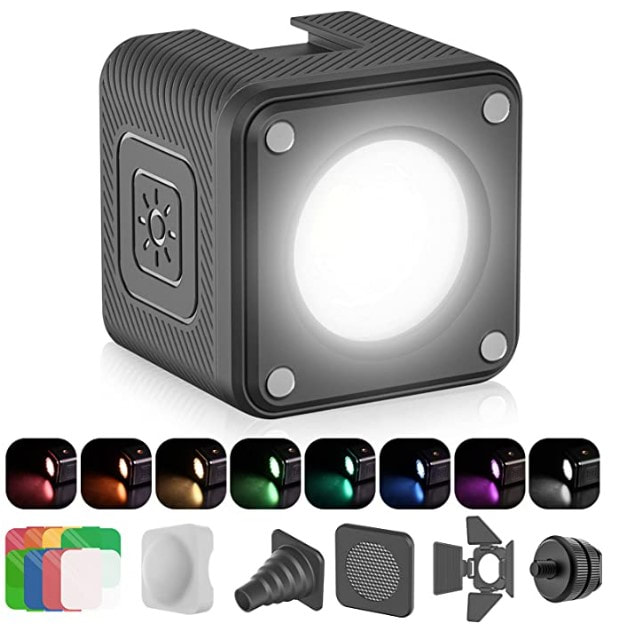
Some additional gear that could help you
|
|
|
|
Ted July's Check List For Taking A Close Up Or Macro Photo:
1. Decide How Large you want the subject to be in your viewfinder (Close up vs Macro).
2. Decide if you should bring the subject closer to you (Longer Lens) or if you should move closer to your subject (Macro Lens, Filters, Reversal Ring, Extension Tubes).
3. Find minimum focus distance of the lens combo that you choose.
4. Choose an aperture that yields a good Depth of Field for your subject while blurring the background.
5. Check to see if you have good light on your subject. Adjust if needed.
6. Set your camera's shutter, aperture and ISO for the creatively correct exposure.
7. Based on the camera's shutter speed. decide whether you need a tripod.
8. Decide whether you need to stabilize your subject if the wind is blowing.
9. Compose the shot and take the picture.
10. Check your live view and histogram to see if you need to make adjustments before taking another photo.