Photographing Holiday Lights
The Holiday Seasons always comes complete with beautiful Light Displays. Many of these displays provide wonderful photography opportunities. Here are some tips for settings and gear you might need to make your pictures better. These tips apply to DSLR Cameras but can be adapted to other cameras too.
Gear
You should have with you a few pieces gear with you to help improve your images. The first two items are very important while the second two will be helpful to have.
1) A camera with manual mode and adjustable shutter speeds.
2) A sturdy tripod.
3) A remote shutter release or cable release.
4) A piece of flat black cardboard.
Outdoor Holiday Lights Photography
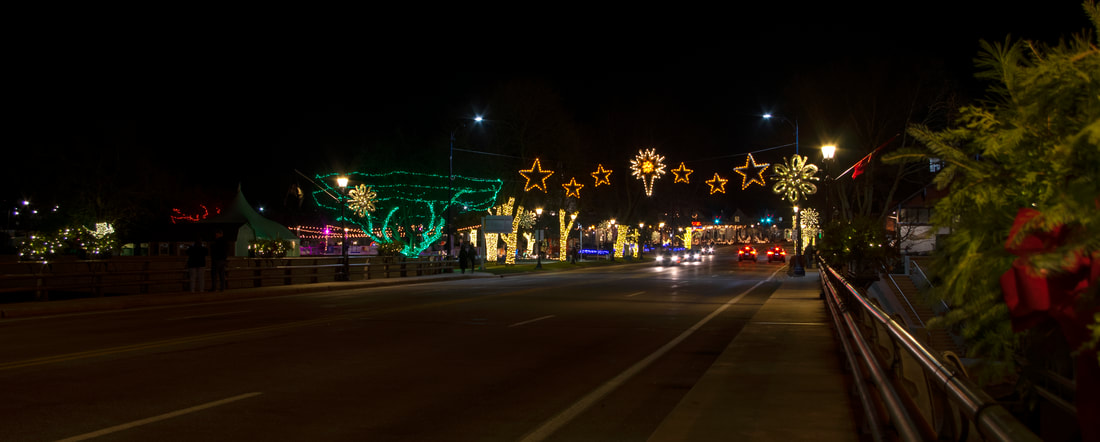
1) Try to photograph around twilight or dusk. Watch for the blue hour. The hour right after the sun sets gives you some opportunities for beautiful pictures. The length of time will vary with your location. Expose for the Holiday Lights and the sky will complement the lights.
2) The blue hour changes quickly so you need to be fast with your shots during this period. This short time allows for some ambient light in the sky that will be different each time you take a picture. That doesn't mean you need to stop taking pictures after the blue hour, you just lose the ambient colors in the sky.
3) You will want a sturdy tripod. Because you will be shooting with long shutter speeds you want the camera to be as steady as possible. Even the slightest shake will affect the picture.
Use the flat black card to block the camera’s lens (without touching the camera) should a light source (such as a car’s headlights) pass through your shot.
4) Try to avoid using your flash. A flash can affect the lights color profile giving you results you may not like.
5) Set for Incandescent or Tungsten lighting. Most Holiday lights are this type of light, and the right setting will give you the correct color in your photos. If you know the lights are LED or your images are blue set the camera to Daytime.
6) Start with the ISO at around 400. If this is still too dark, try to increase the exposure time. The higher the ISO the more grain will appear in your image, and this will decrease your image quality.
7) Start with a shutter speed between f/4 and f/11. Each lens has a sweet spot where the image is the best for the current conditions. Keep checking your images to stay on top of it.
8) When you are shooting lights that are blinking increase your shutter speed so you can capture a more complete cycle of lights.
Indoor Holiday Lights Photography
1) Try to brighten up what you are photographing. Bring in extra lights to remove dark shadowy areas that could confuse your camera.
2) Because these are still-life shots you want to increase the shutter speed and use a tripod. Once people are in the picture you will need to change your settings to avoid motion blur.
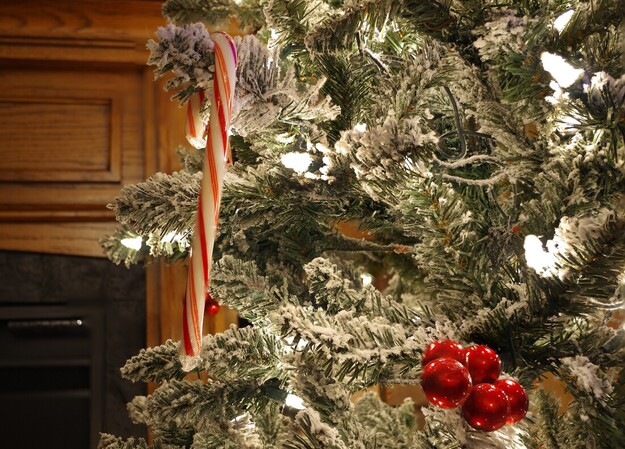
3) Using a shallow Depth of Field will give your indoor images a warmer, dreamier look by controlling what is in focus. You can use this to create a Bokeh effect to the background. It will make the background out of focus and turn the Holiday lights into small glowing orbs of light. This can be done by keeping your aperture as open as possible. Using f/2 through f/10 will accomplish this for you.


